Waxed Chains For The Lazy
If you want the benefits of a clean and quiet waxed chain without going down the ultrasonic cleaner and crockpot rabbit hole, I’ve got good news. You don’t need any of that extra equipment. Here’s a lazy person’s guide to entering the world of waxed chains.
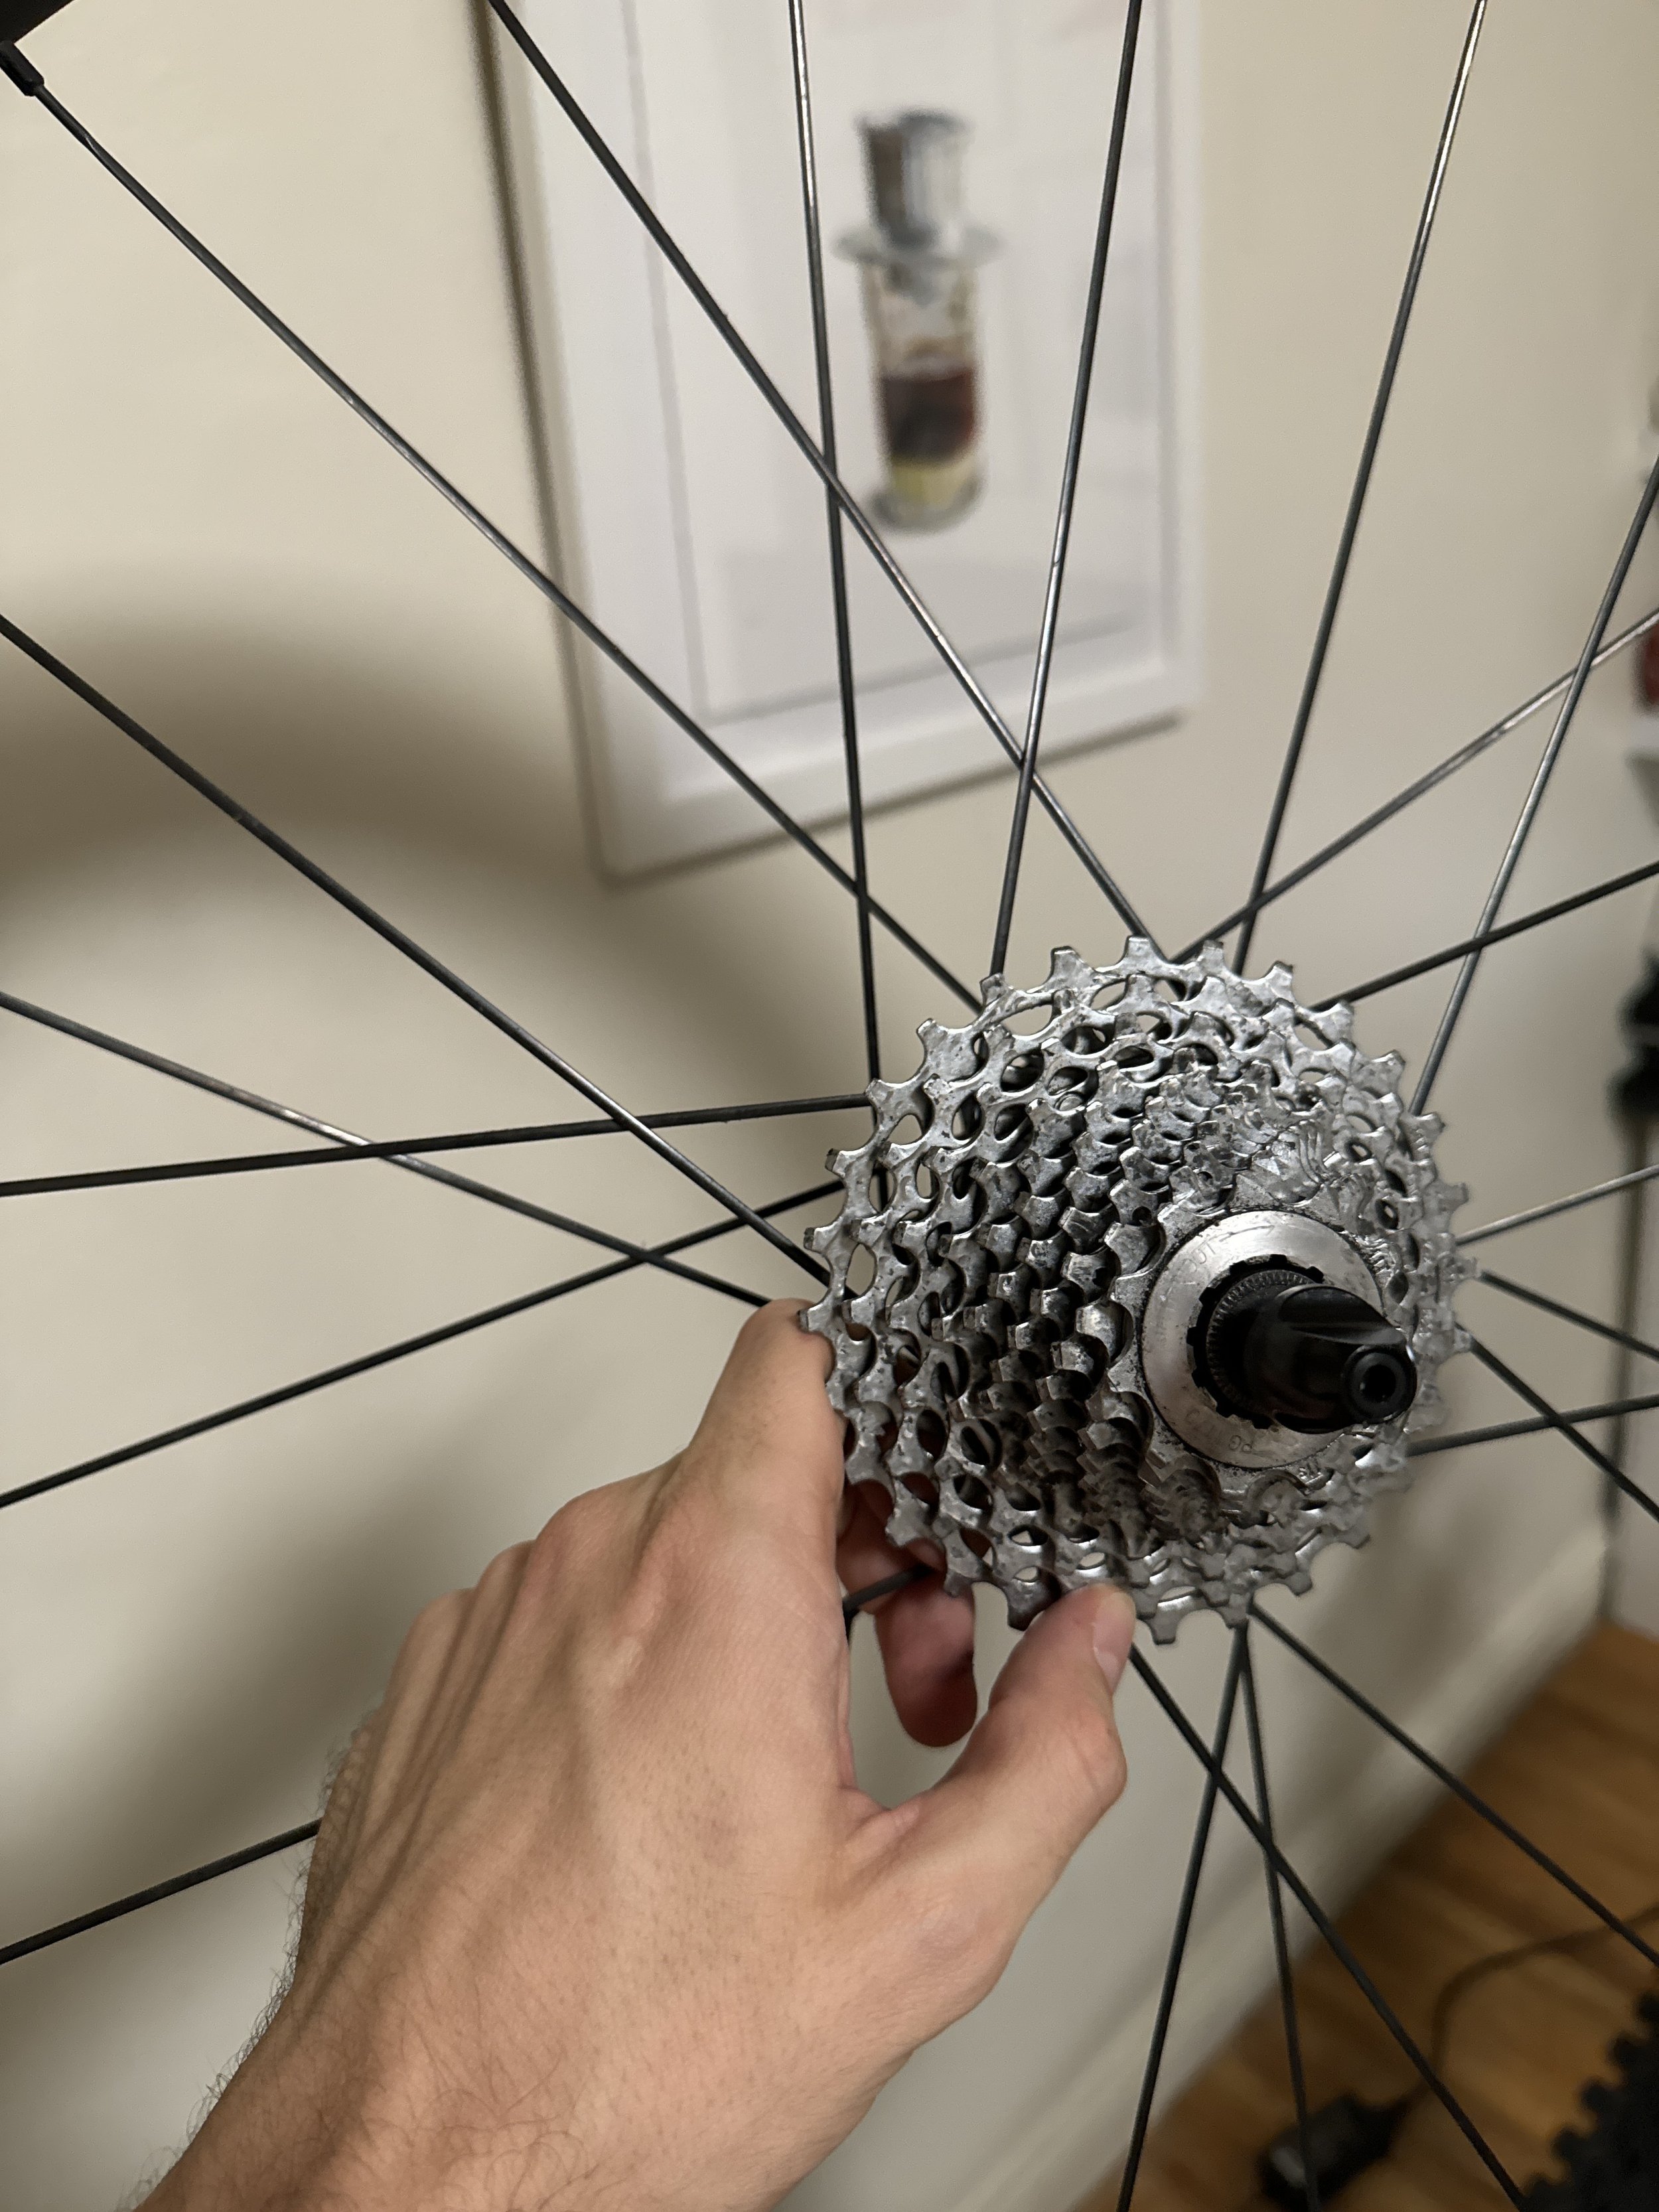
Before I give you the cheat sheet for waxy chain goodness, I want to acknowledge that this is a safe space and judgement-free zone. Folks who thoroughly enjoy deep cleaning their bike after nearly every ride, down to removing cranks and disassembling bottom brackets, are incredible. I am not that person. I will, at most, hose down my bike after a particularly gross day, spot wipe the parts that could rust, and drip some lube on the chain and call it a day. Anything more involved typically only happens once or twice a year, and typically is done by my hardworking mechanic. This is why I’ve been ignoring my teammates who wax poetic (pun intended) about the benefits of waxing their chains: clean hands, no schwebbers, longer lasting chains/cassettes, quieter, and smoother shifting! Despite all the upside to chain waxing, all the faff that comes with maintaining it at home (e.g., ultrasonic cleaning, mineral spirit baths, crockpot warming, wire hanger sloshing utensils, re-waxing frequently, etc.) just felt overwhelming.
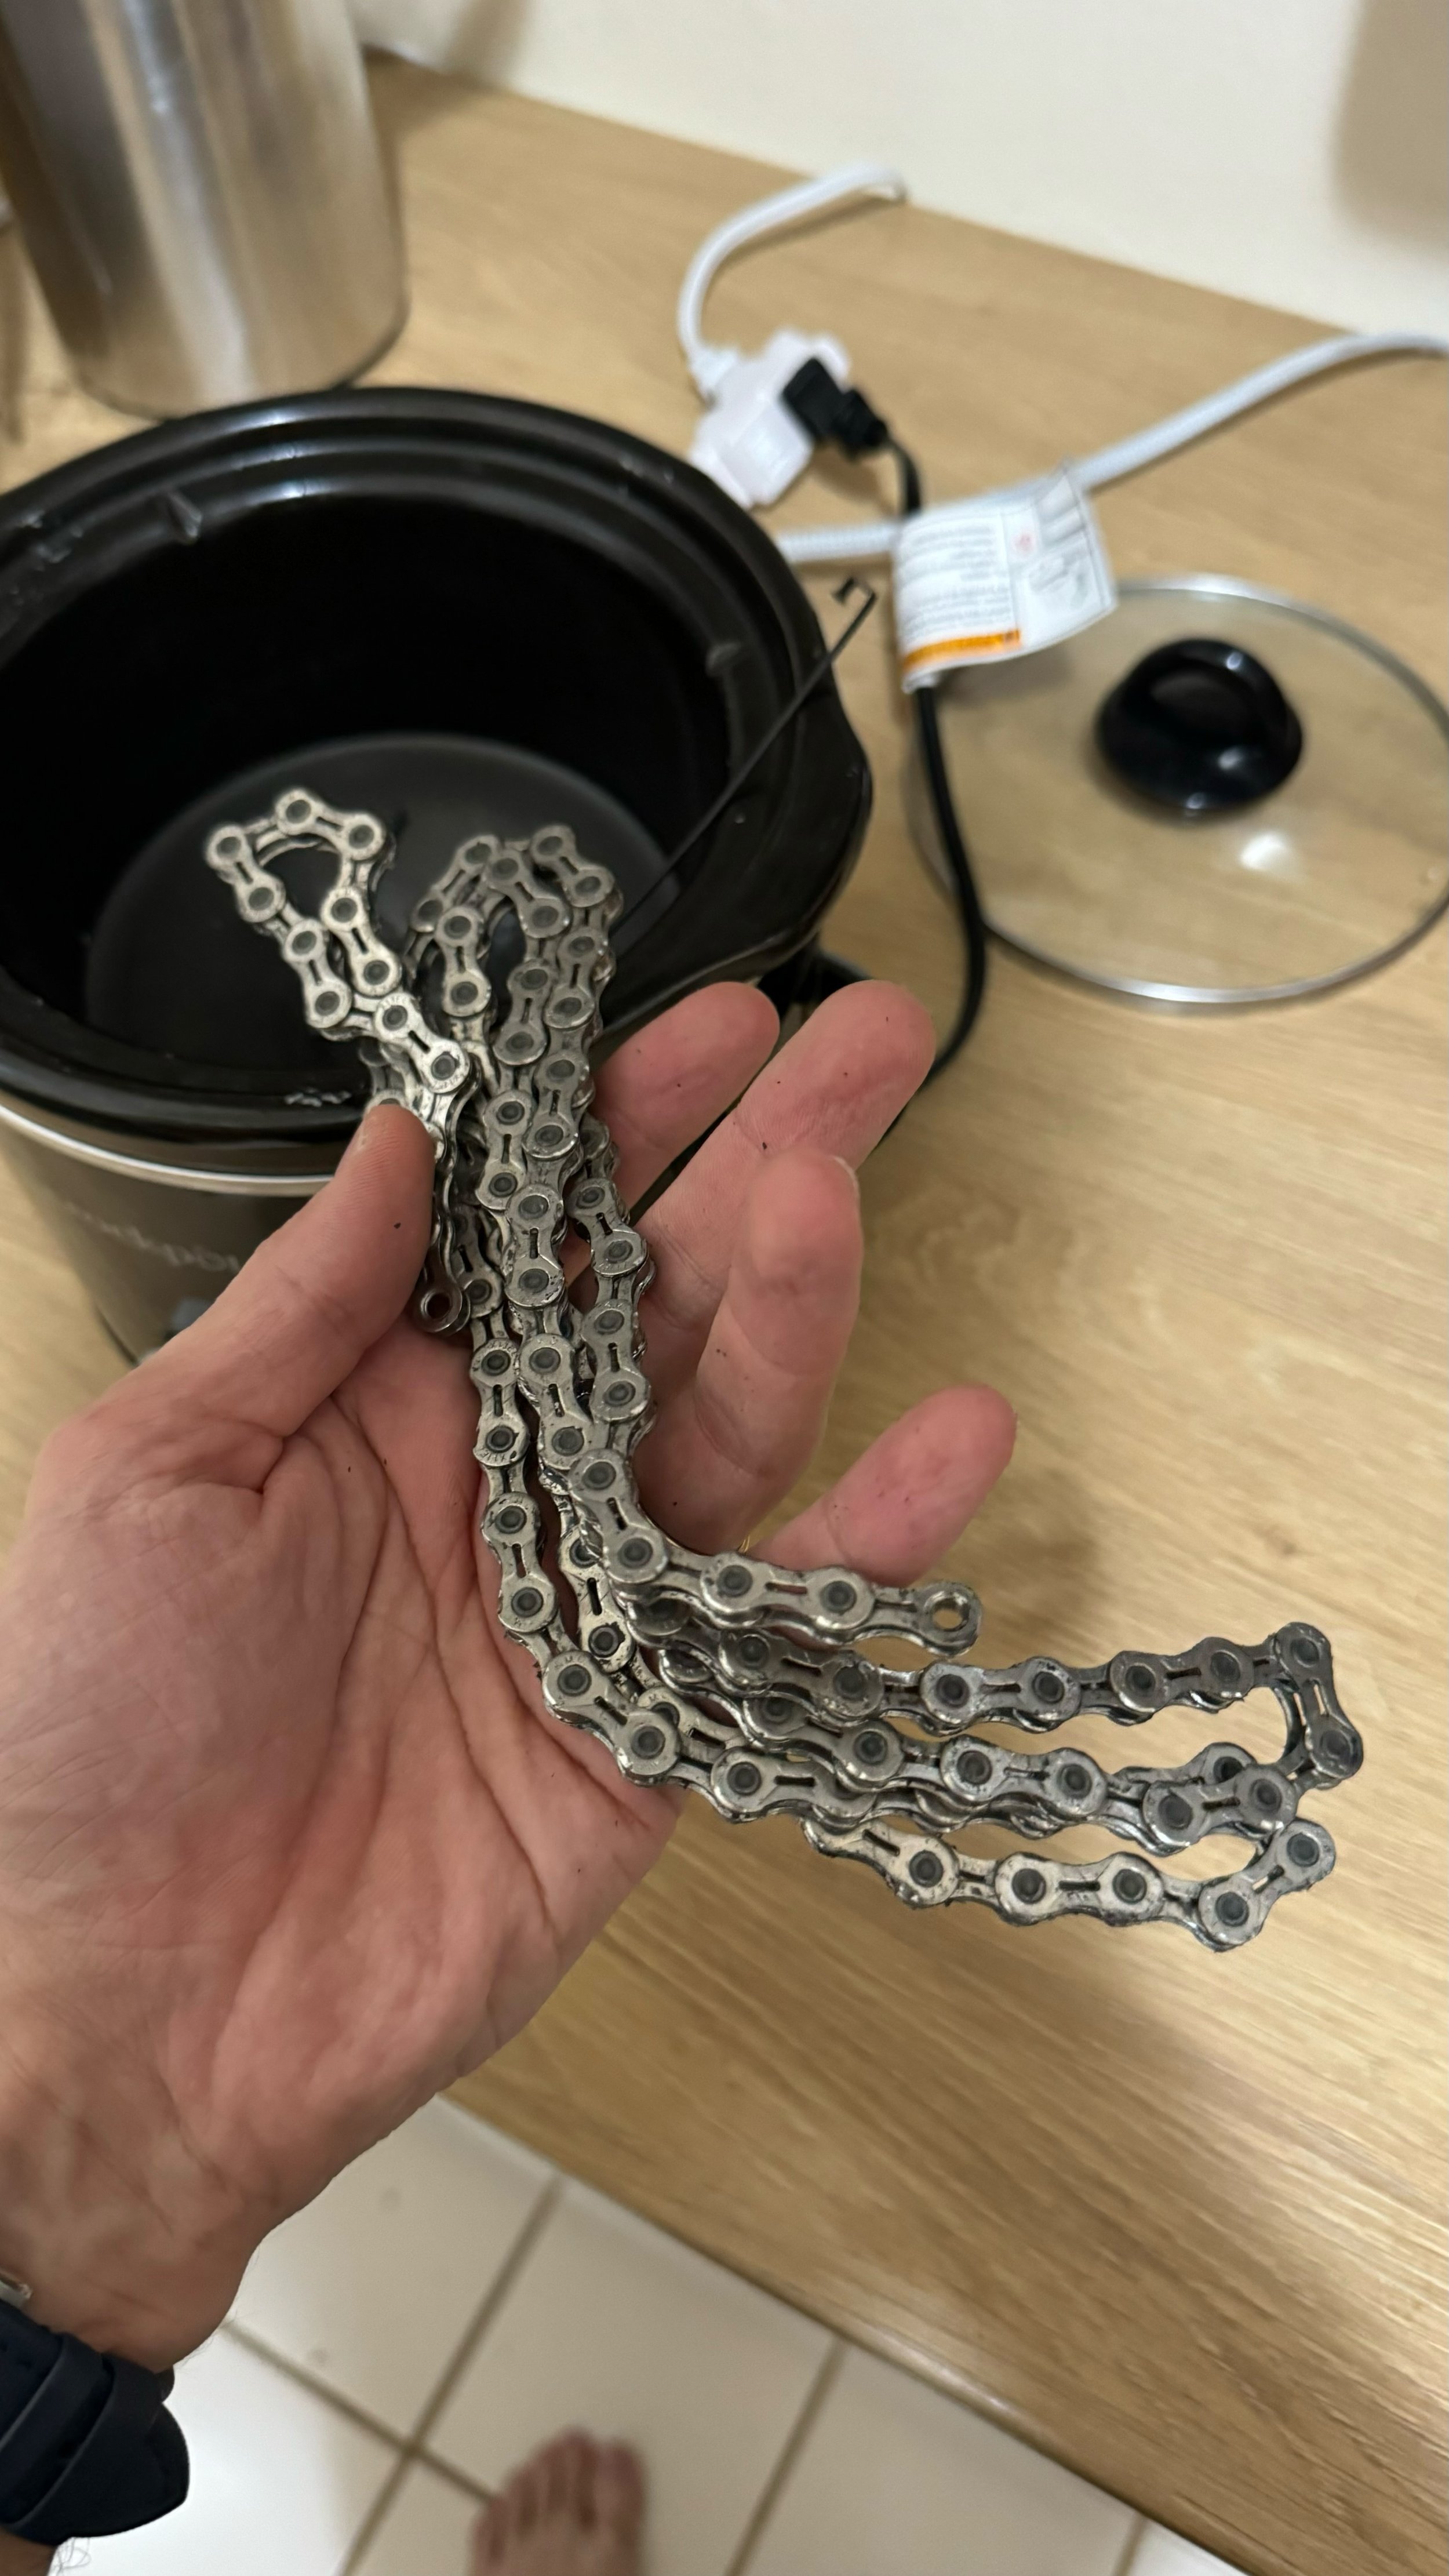
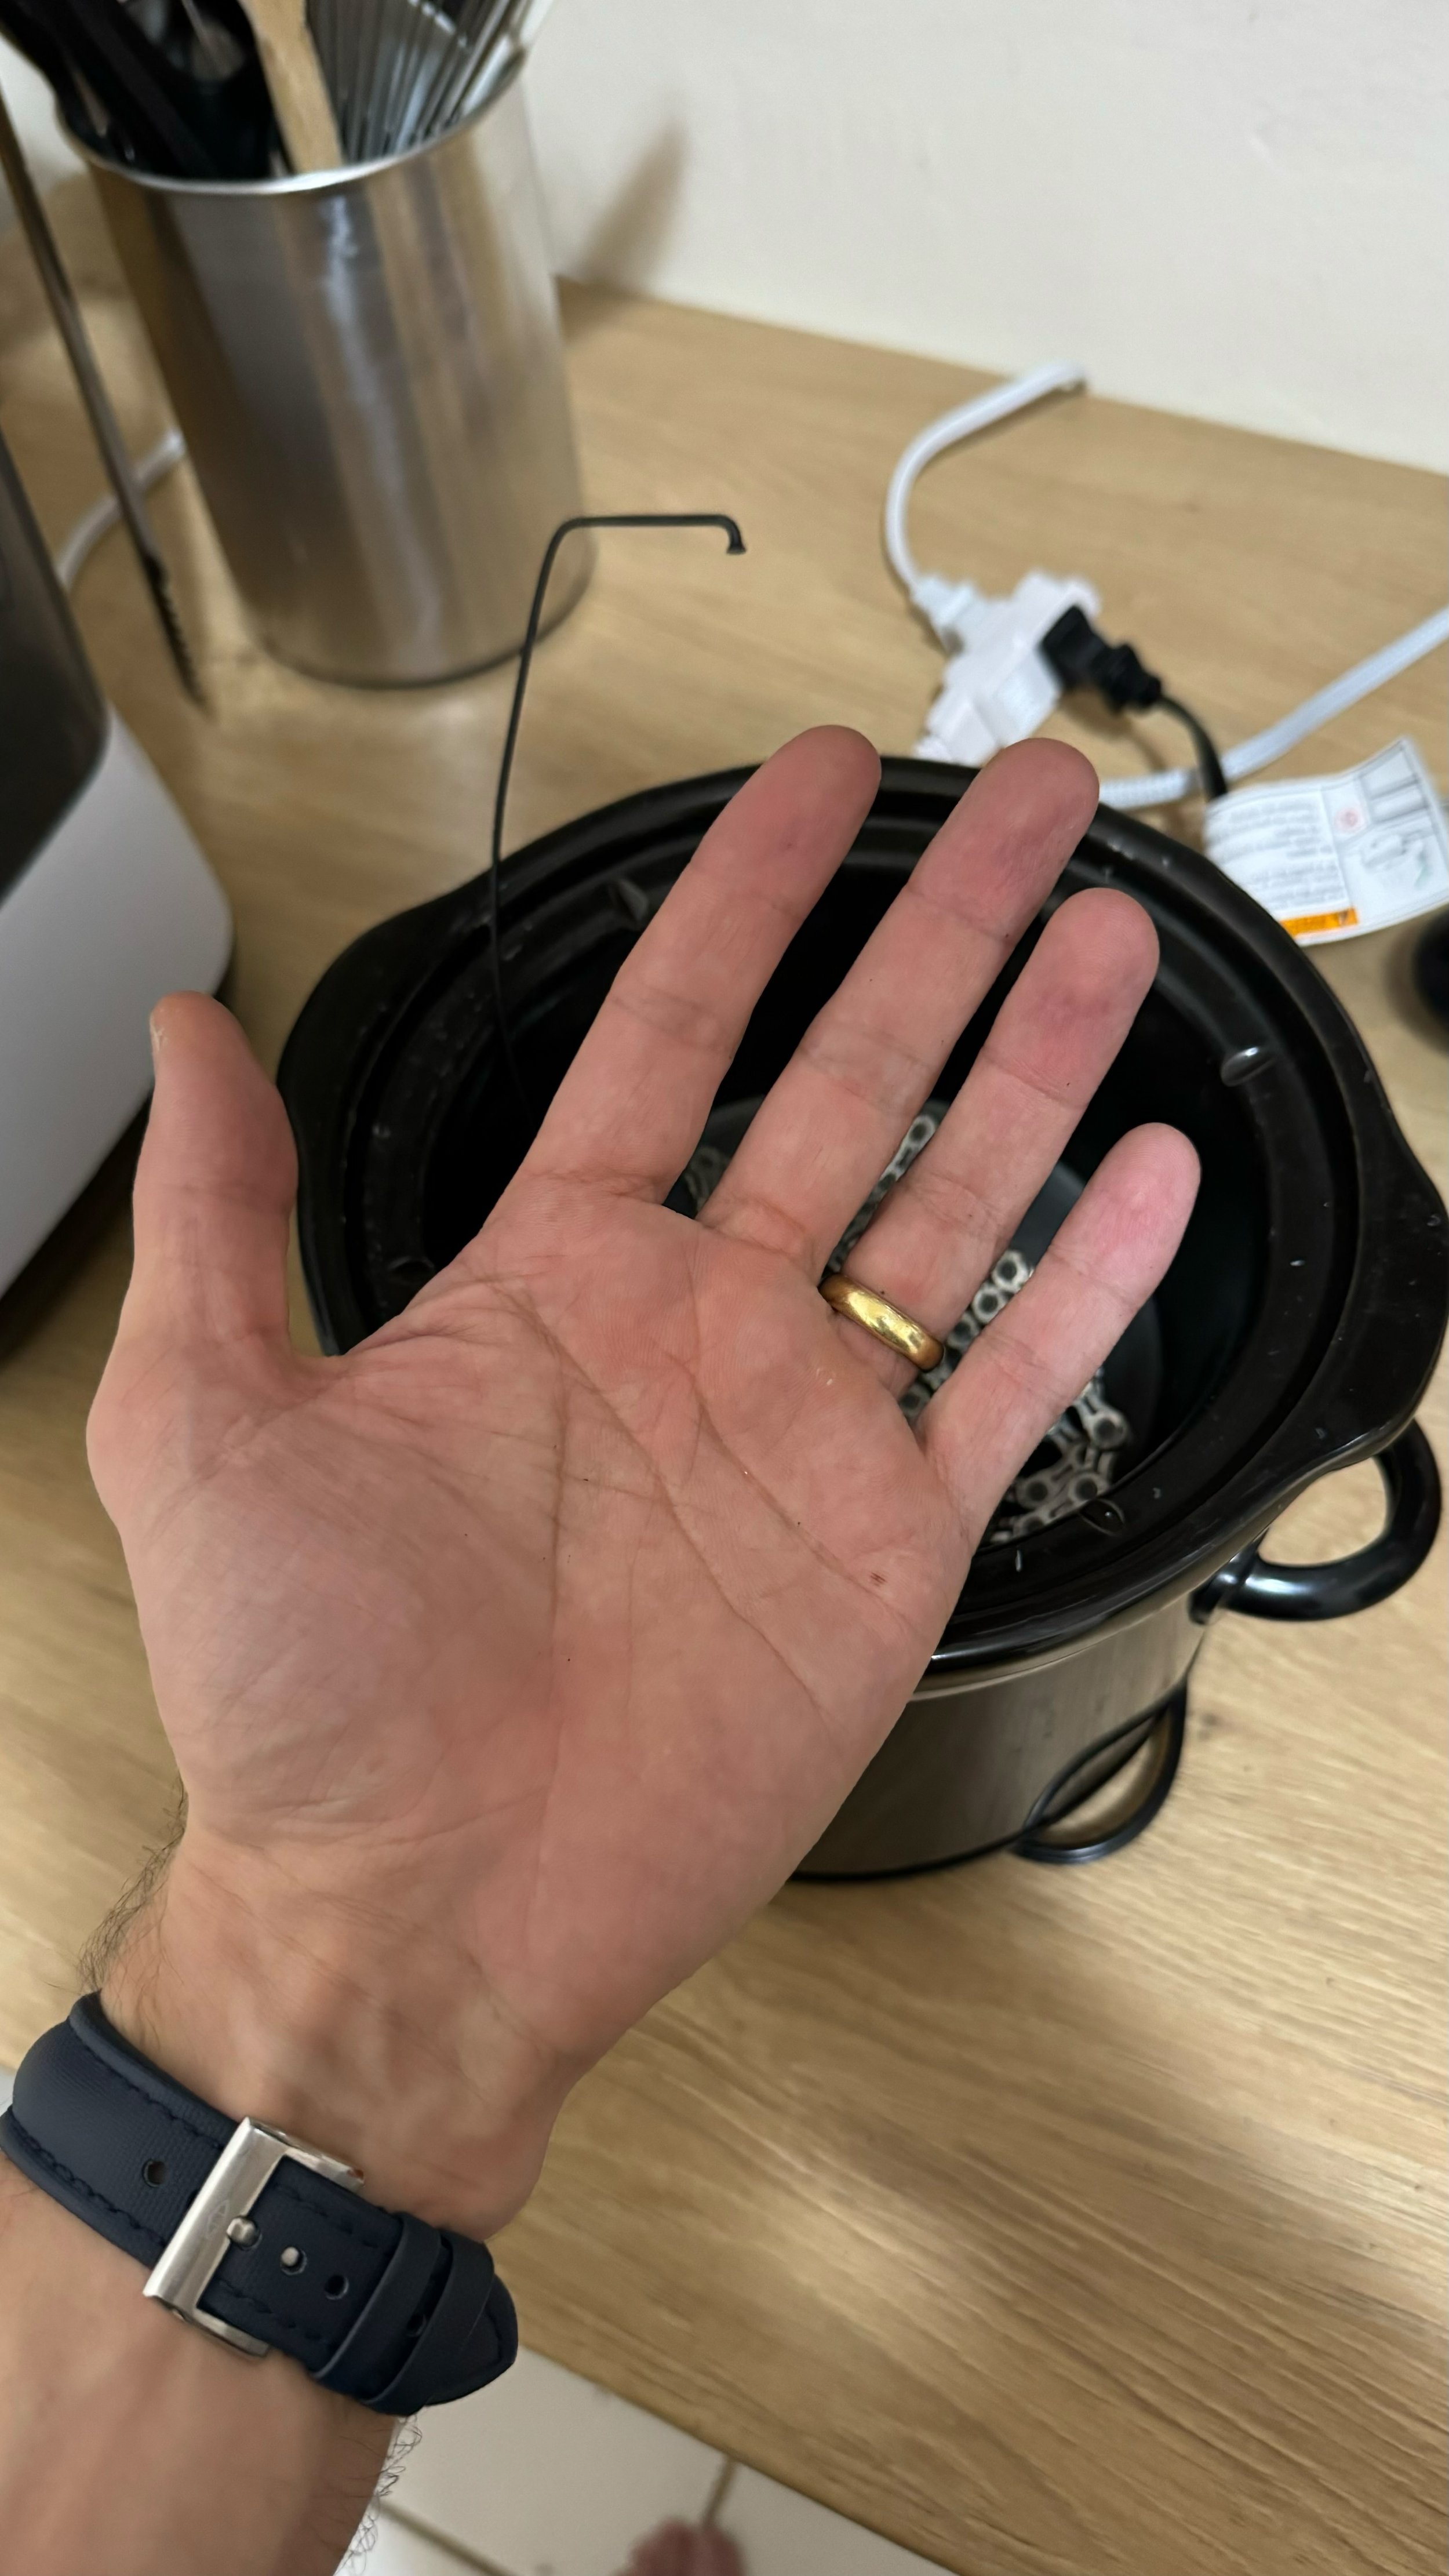
Recently, however, chain waxing has seen enough of a mainstream buy-in that brands and bike shops have introduced clever products to make the process much simpler. Silca makes a drip version of their Super Secret Wax, and along with some local bike shops like ACME, also sell pre-waxed chains. You can still geek out on waxing equipment and process as much as you want, but you can also streamline it to be near dummy-proof. And that’s what we’re talking about here: a pretty simple and foolproof entry into the world of waxed chains.
THE STEPS
Step 1: The Cheat Step
Pay a mechanic (or find a friend or S.O.) to do the initial clean/wax.
This step is a must. You have to start out with an absolutely clean (stripped of all factory oil/grease/dirt) drivetrain & chain (even if brand new!) in order to ensure the wax bonds to your chain & plays well within the system. If you can handle this one-time task yourself, good for you. But for the rest of us, you have permission to buy a pre-waxed chain and/or pay someone to clean your bike & install it.
Step 2: The Products
Get Silca Super Secret drip wax, a microfiber towel, and Silca Biodegreaser.
You can buy all of the things here. I’ve read you can even avoid the degreaser step by pouring boiling water out of a narrow spouted kettle onto the chain (to melt & wash away old wax & dirt), but I’ve never tried this method, so I’m not going to endorse it here.
Step 3: Easy Maintenance
Every 200-300 miles (or after any rainy or particularly wet ride), spray Silca Biodegreaser on your drivetrain, wipe down with microfiber towel, apply Super Secret drip wax to your chain, and let dry overnight.
There are great youtube videos that provide #ProTips on the ideal ways to wipe down & drip wax onto your chain. Here’s one I found helpful. How frequently you have to do this step depends on how often you ride and the conditions you ride in, obviously, but this maintenance schedule is about the same frequency with which you should be wiping down and lubing your chain with regular wet lube. The only difference is now you won’t have to wear gloves or scrub your hands after.
And that’s it!
Enjoy your relatively faff-free waxed chain!


