My S.O. Got a Gravel Bike! Plus, Tips for New Gravel Riders.
You can imagine my excitement when my SO (significant other), Larry, announced he was getting a gravel bike.
Dear friends, I was very stoked.
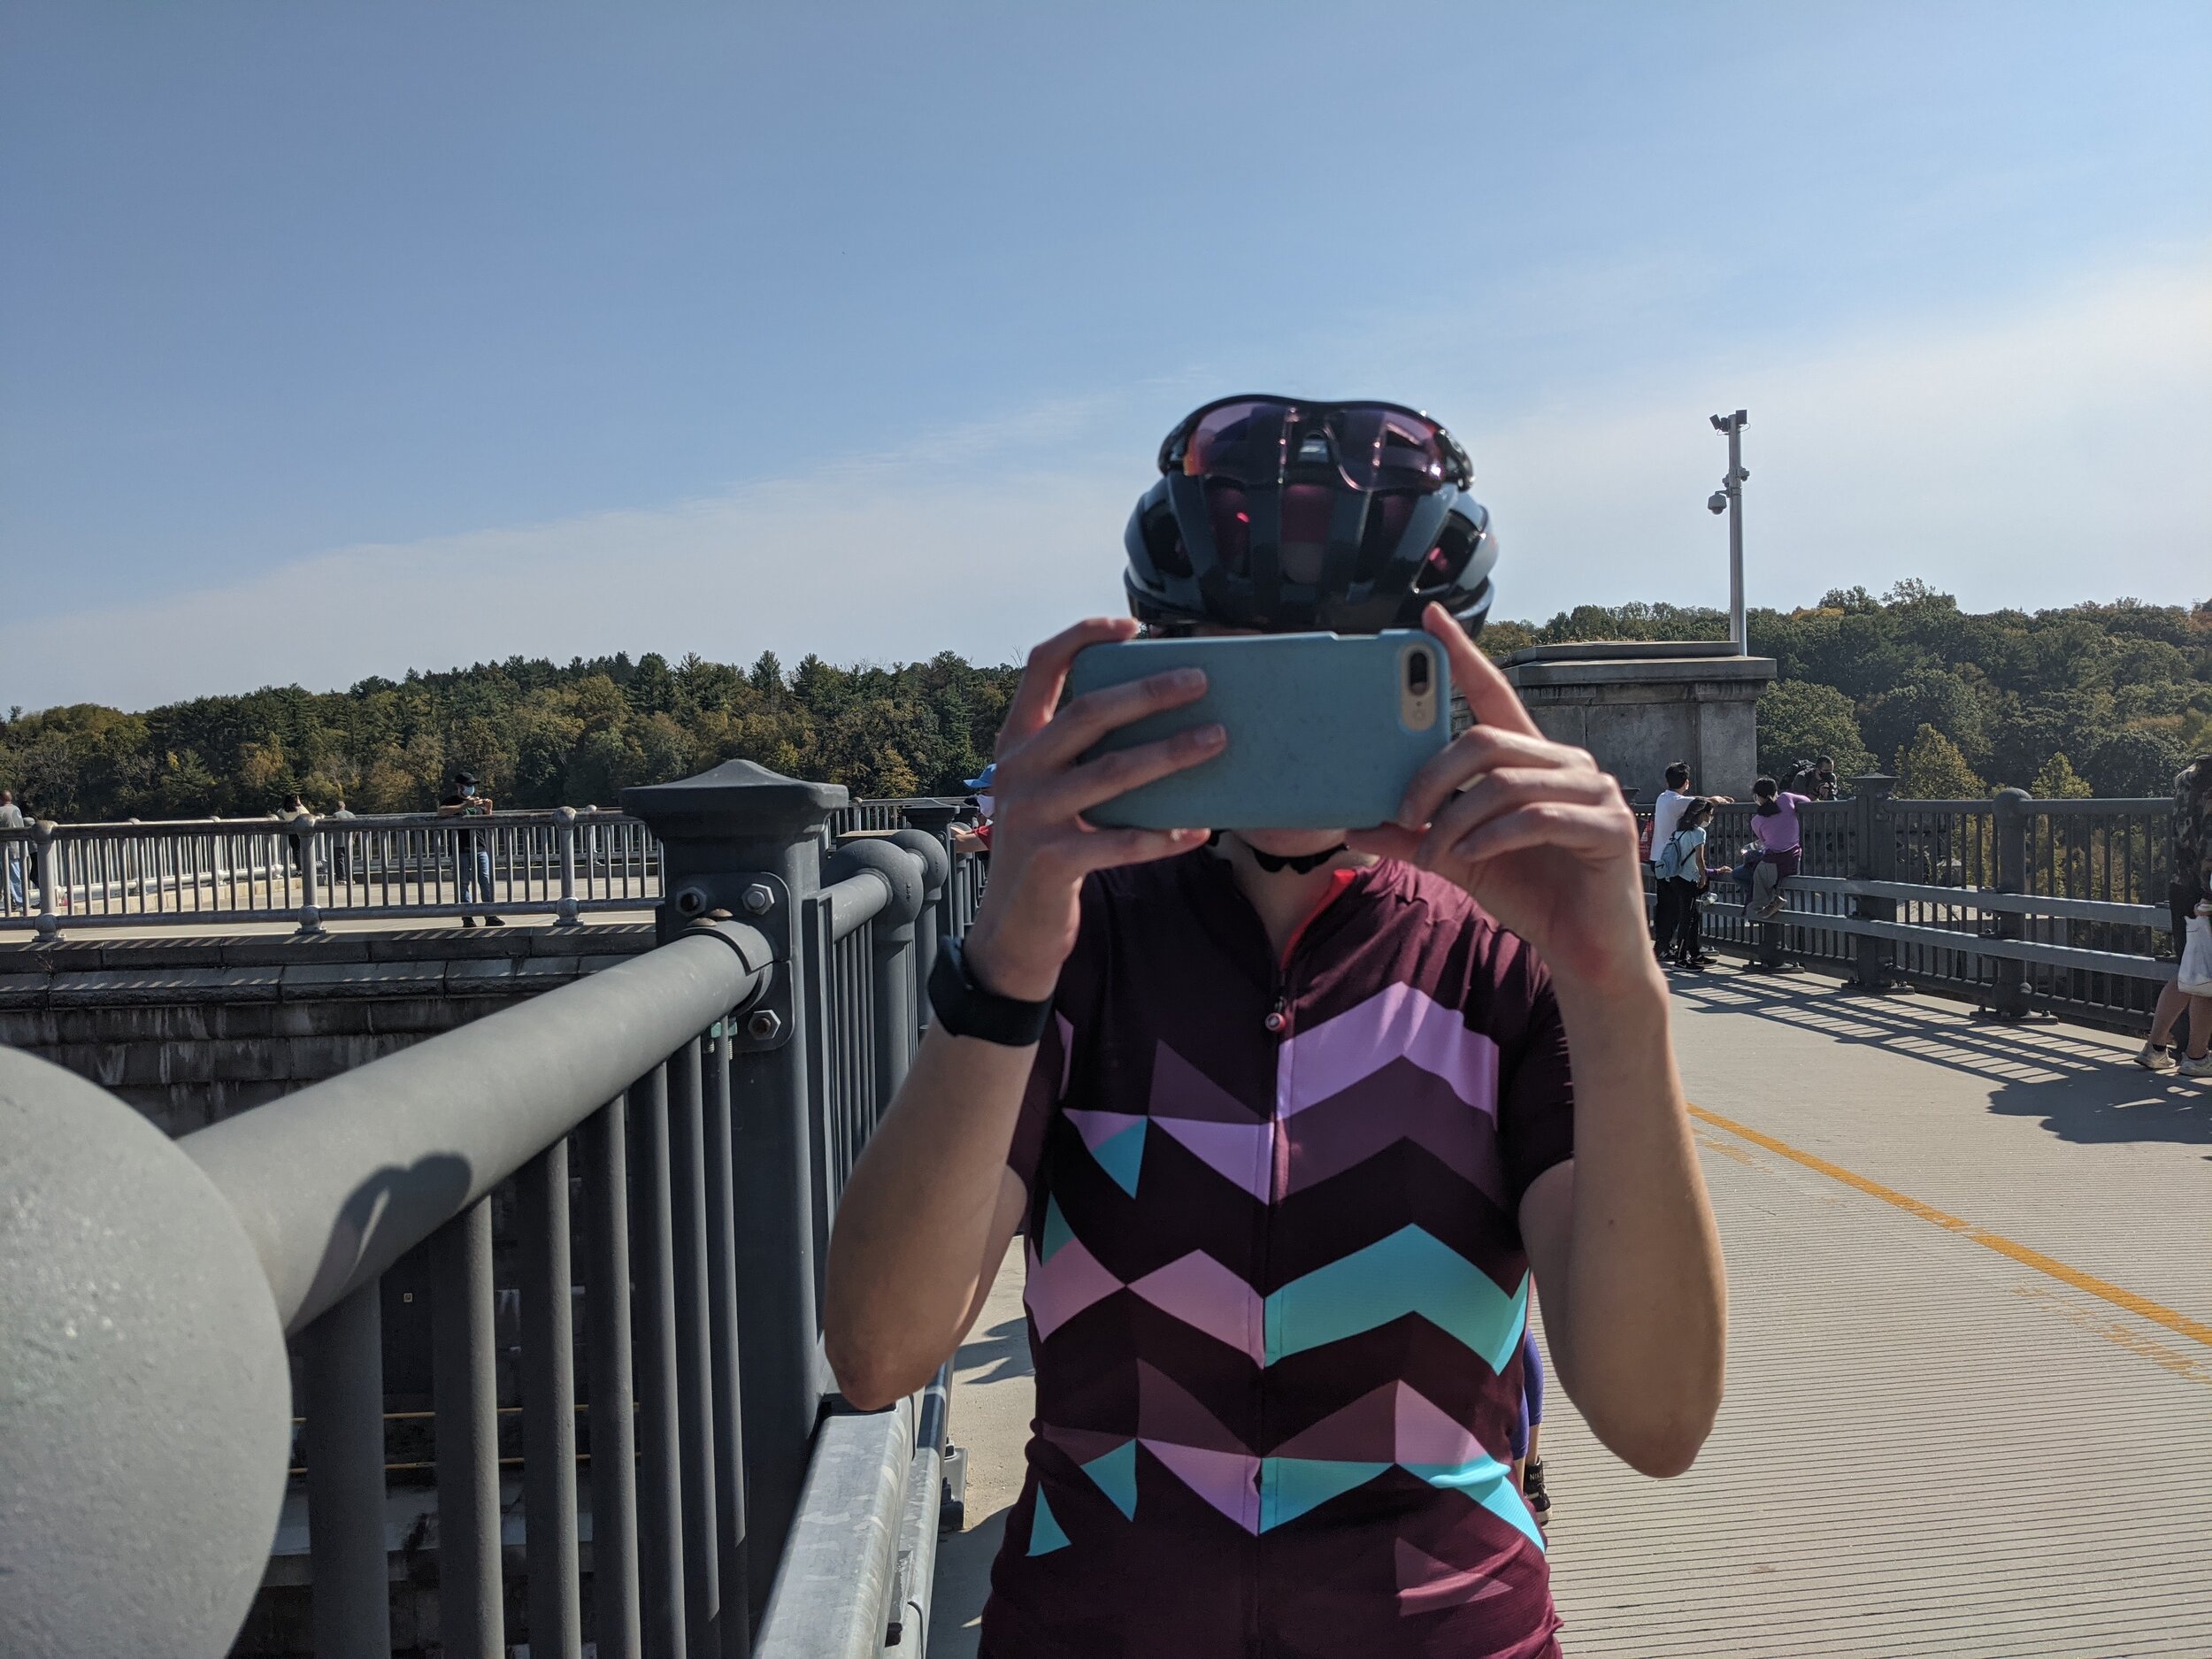
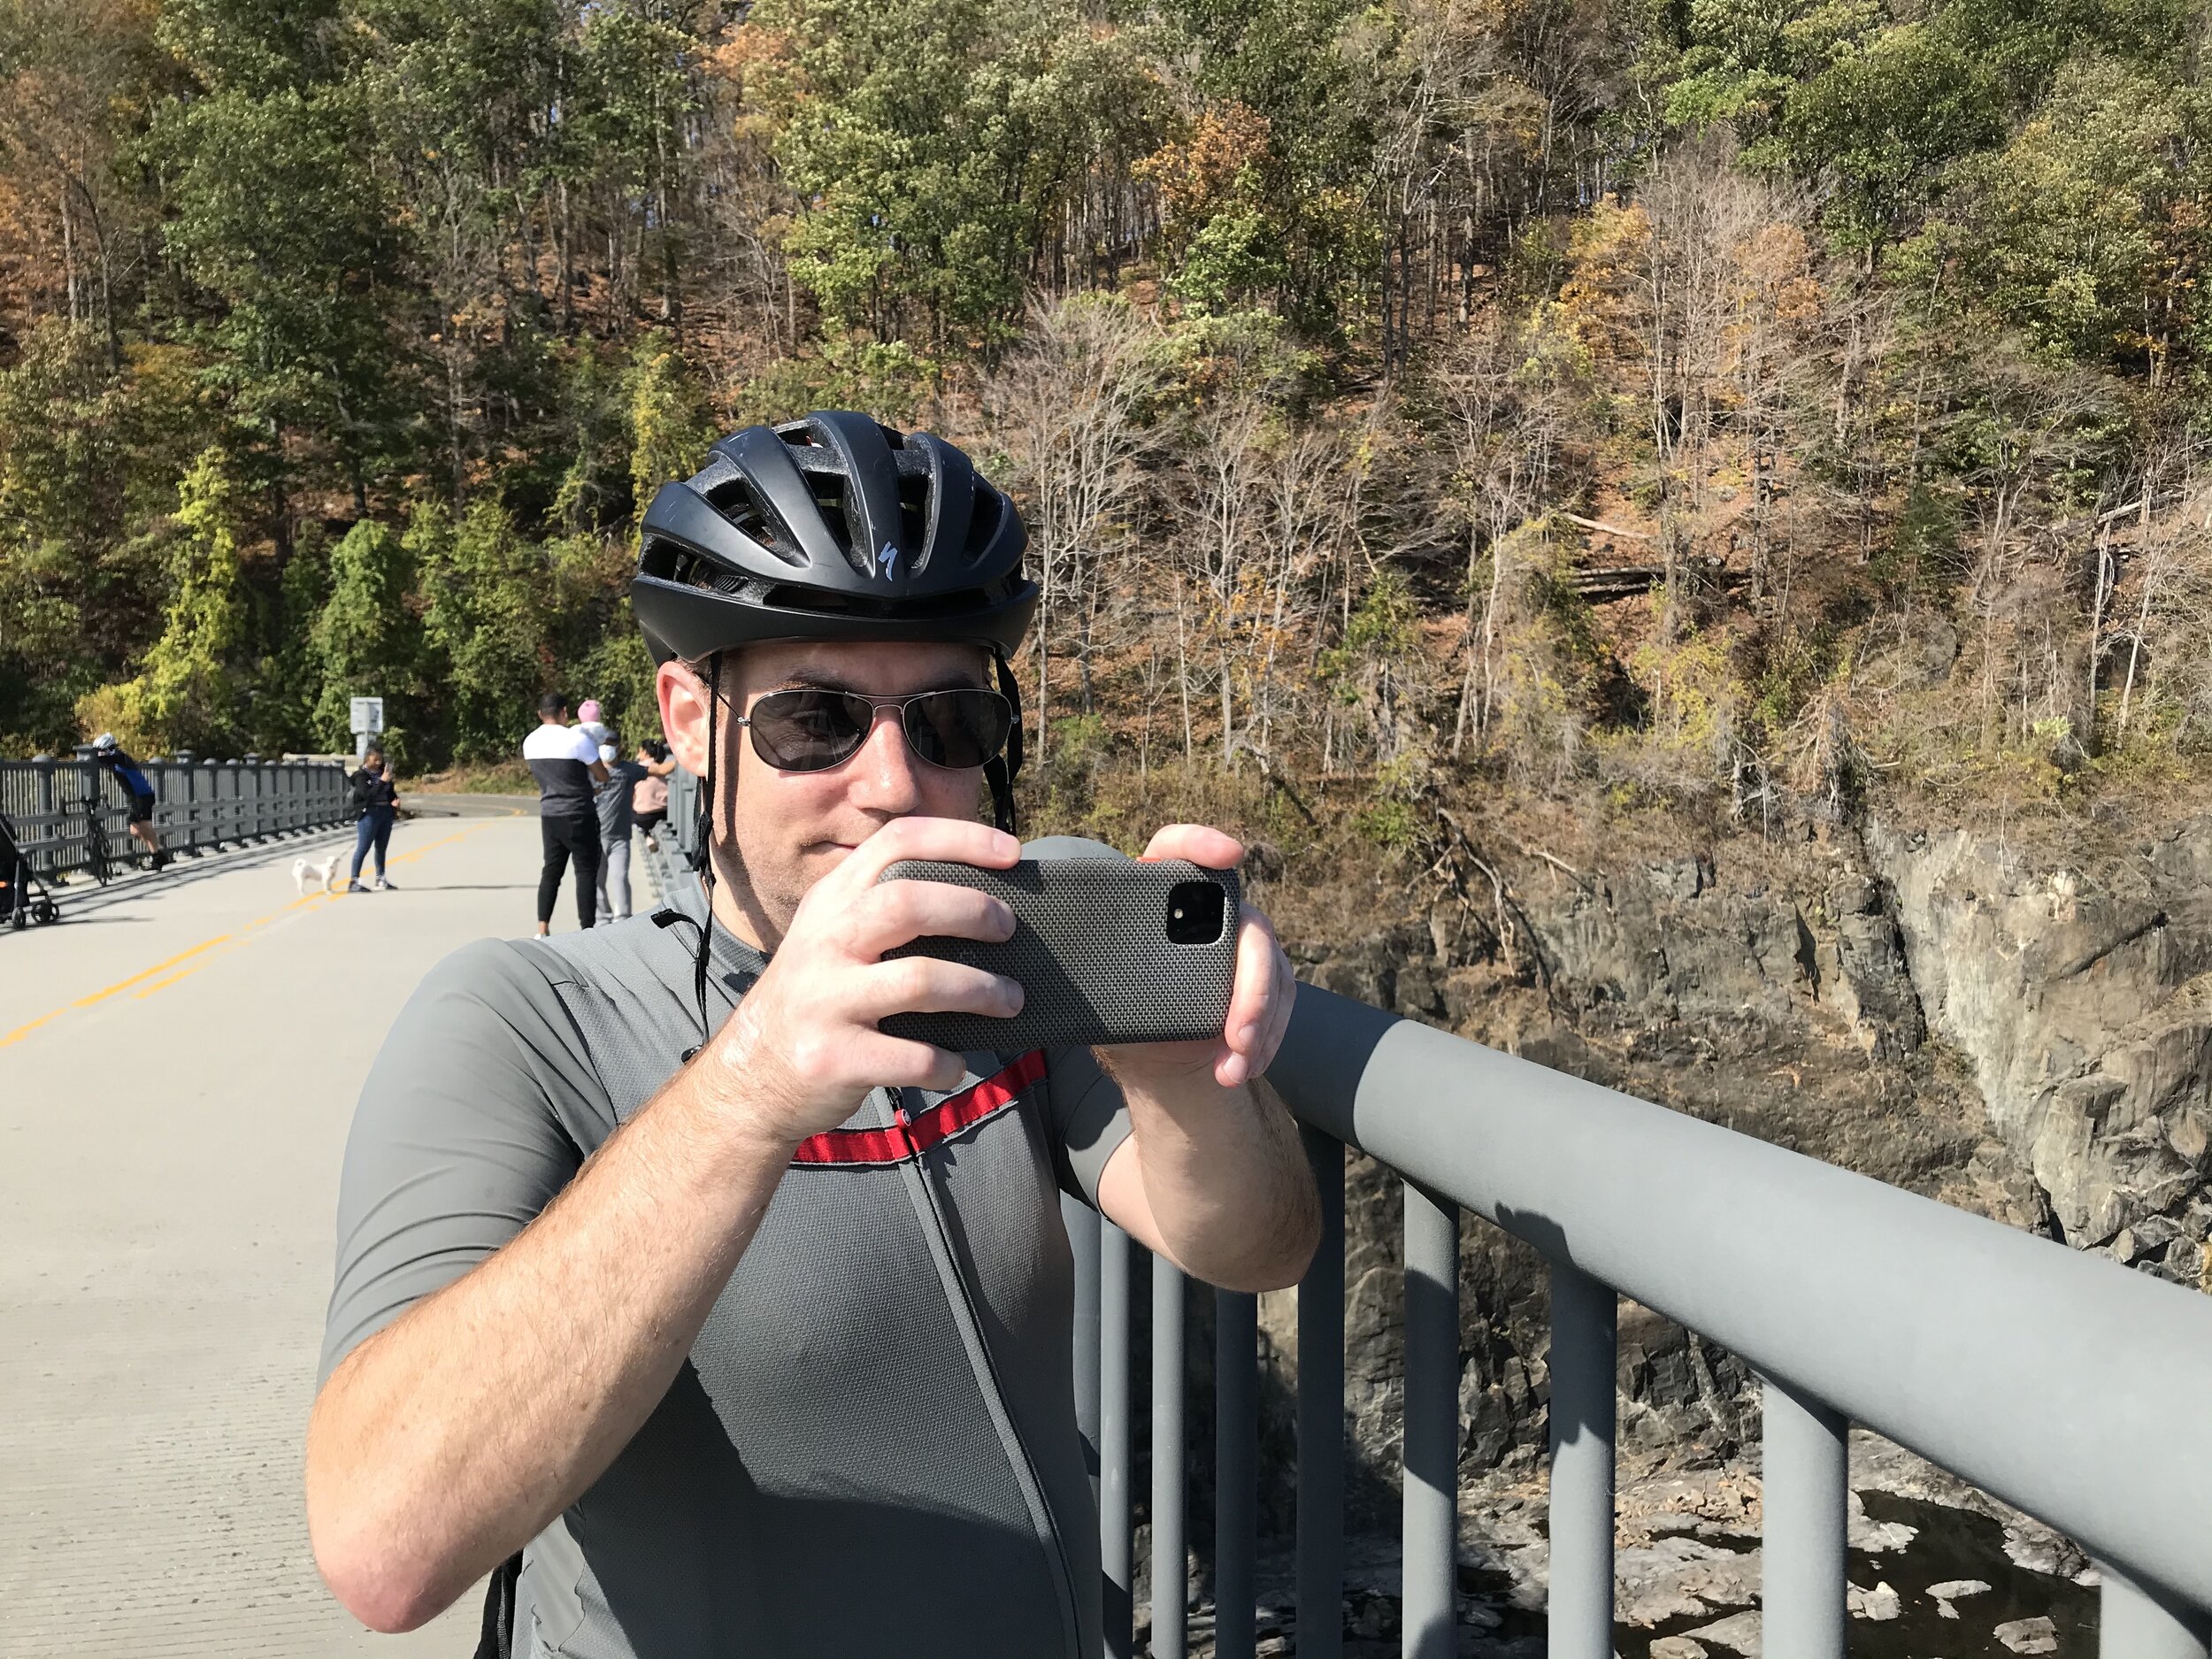
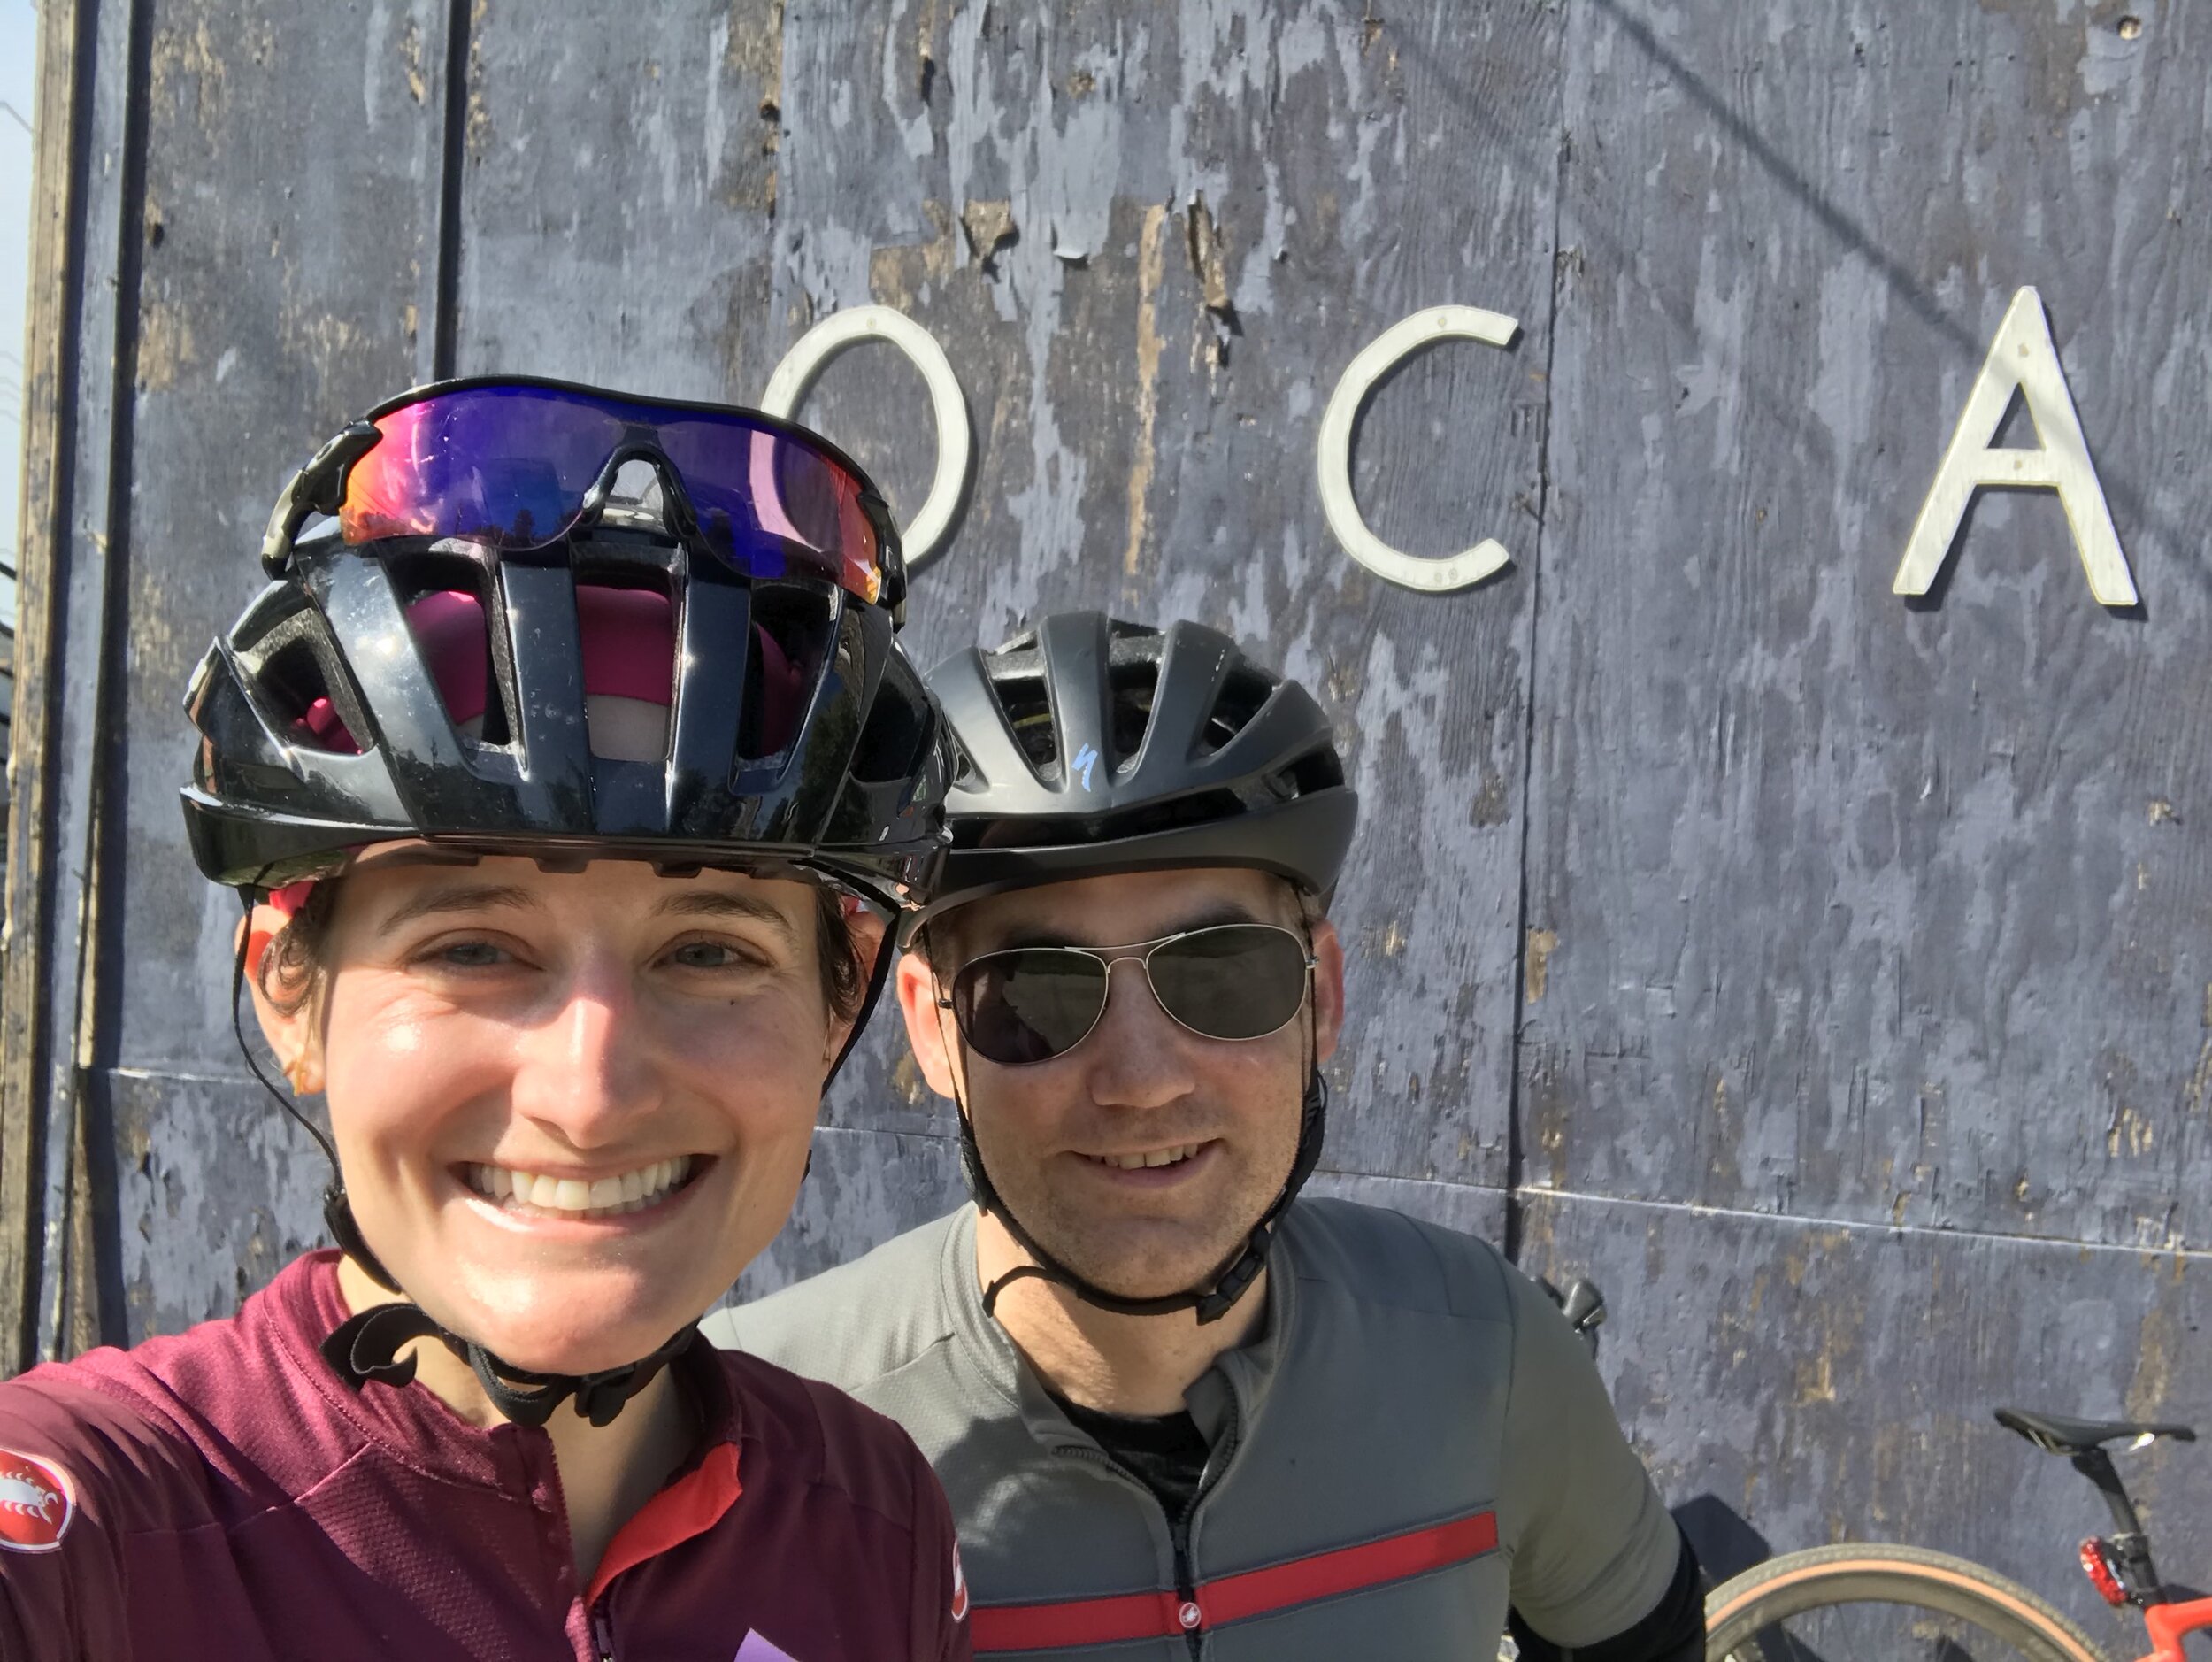
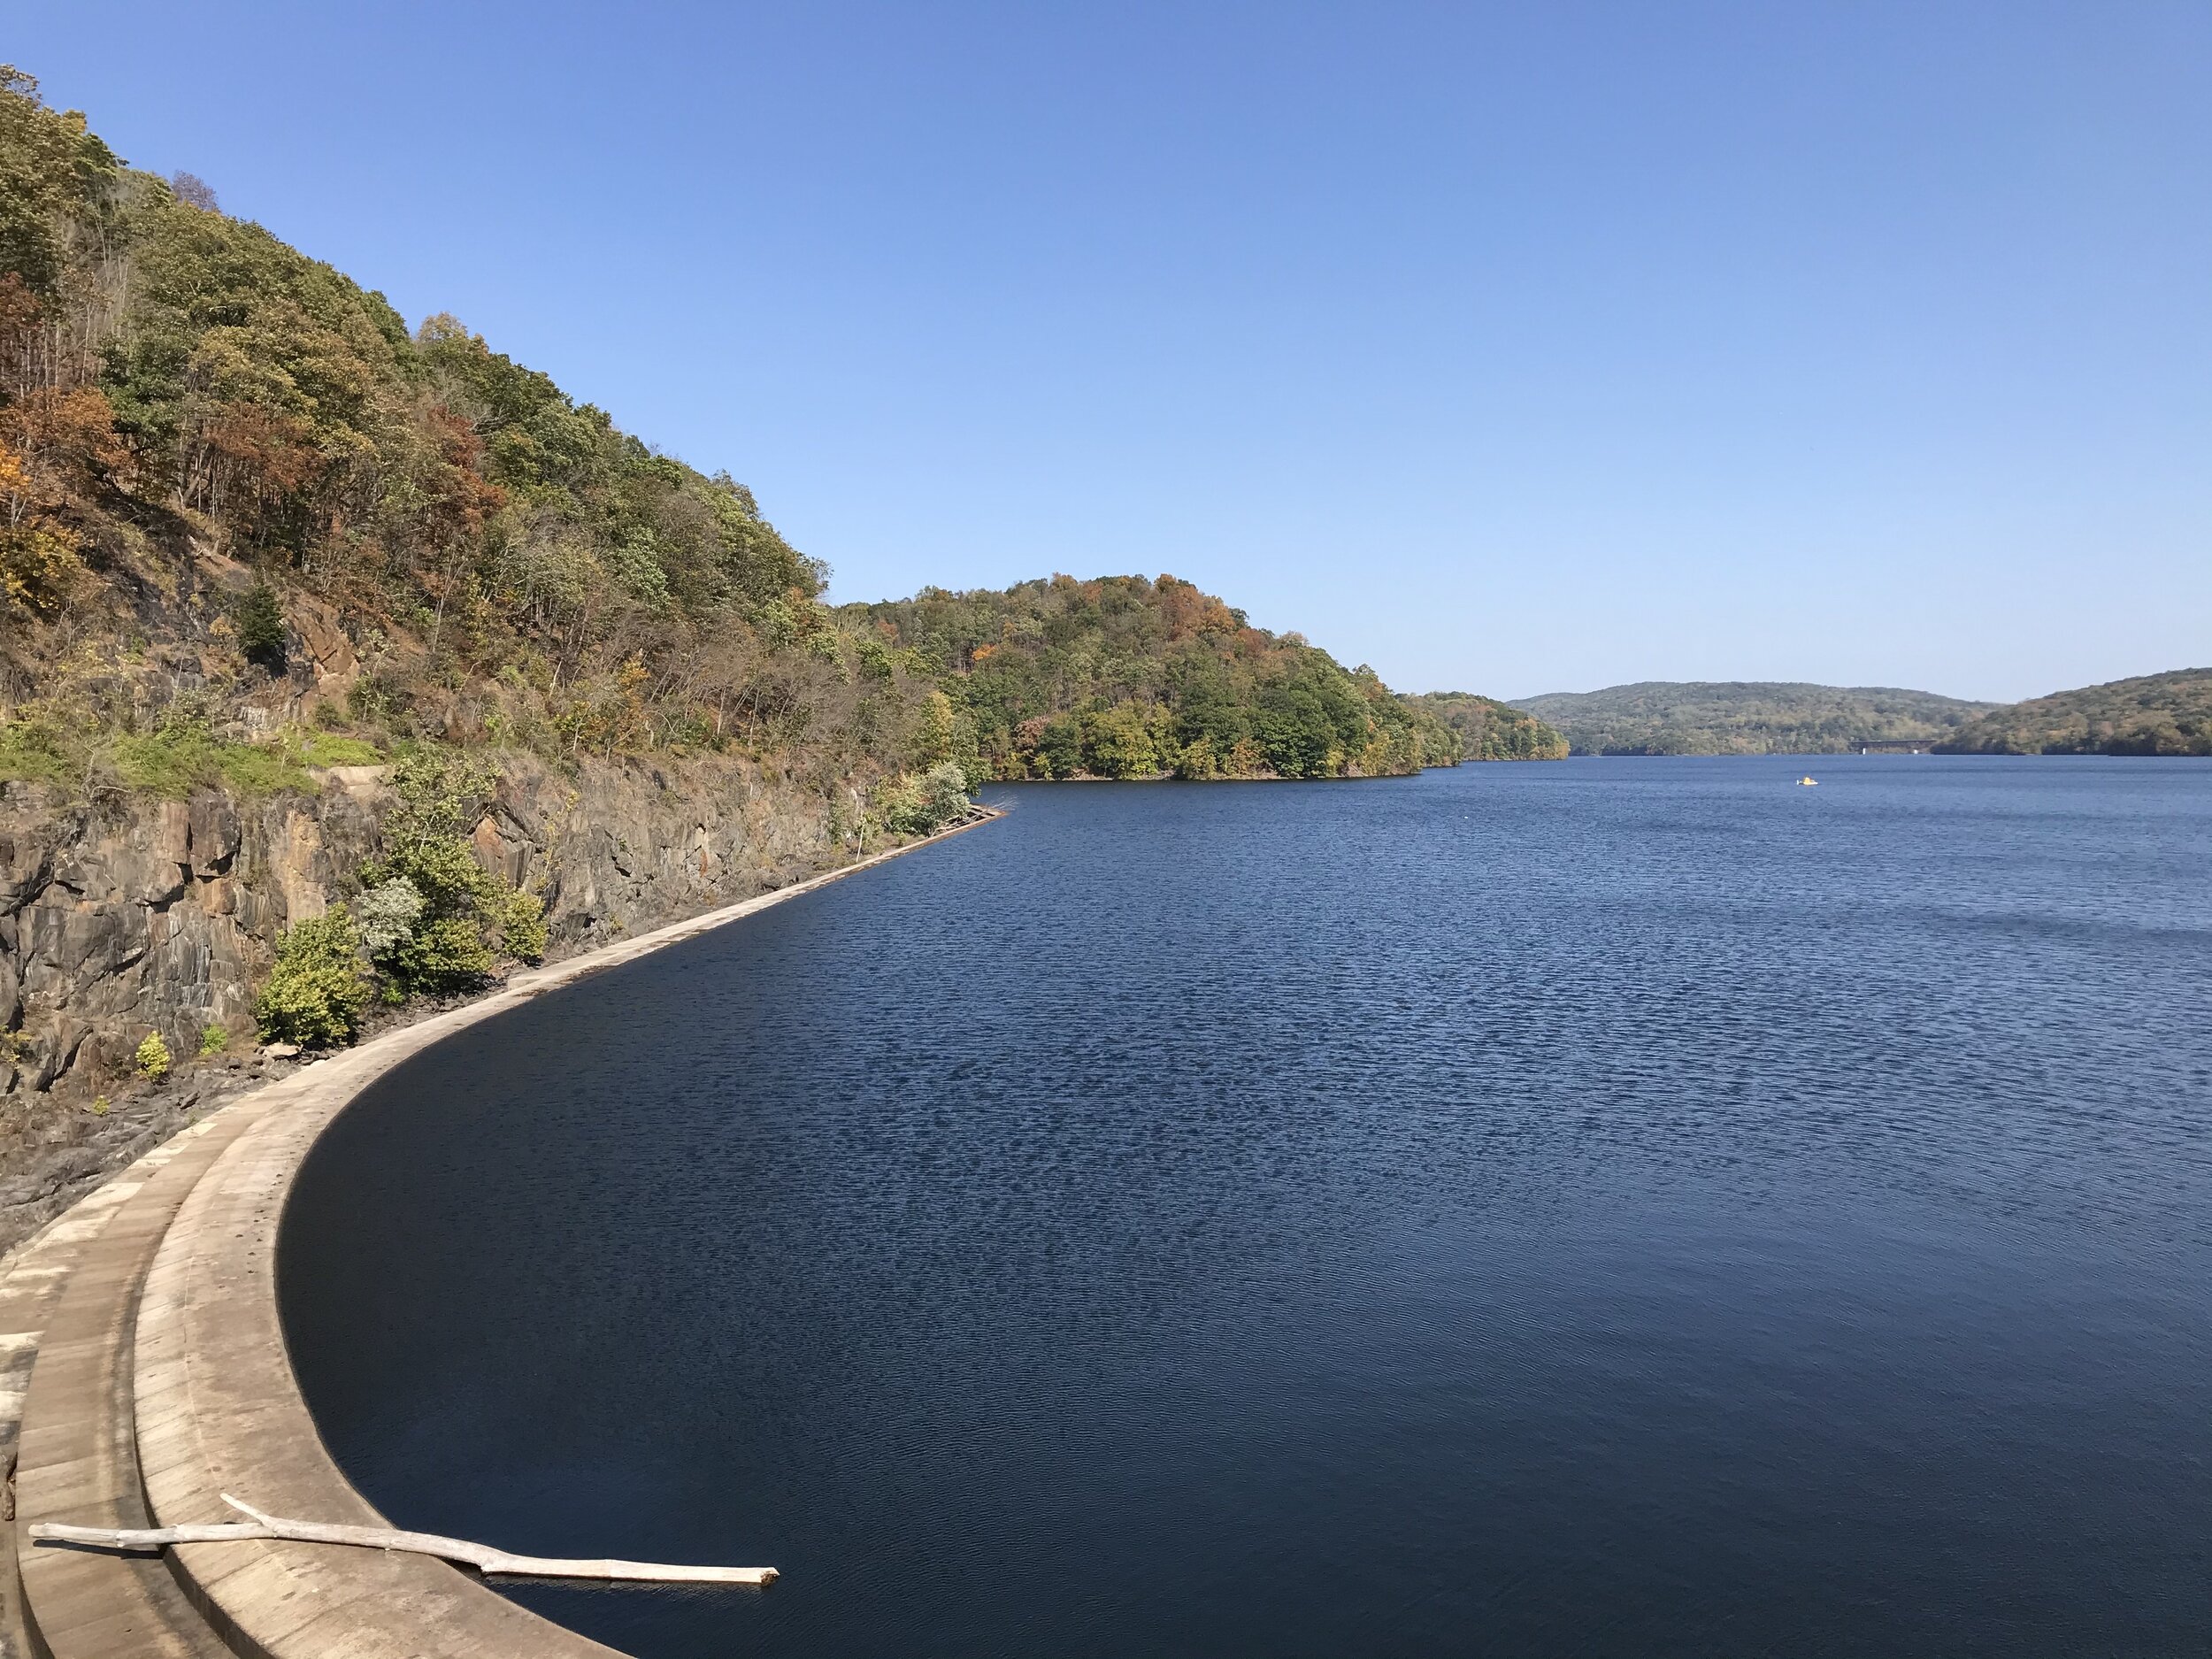
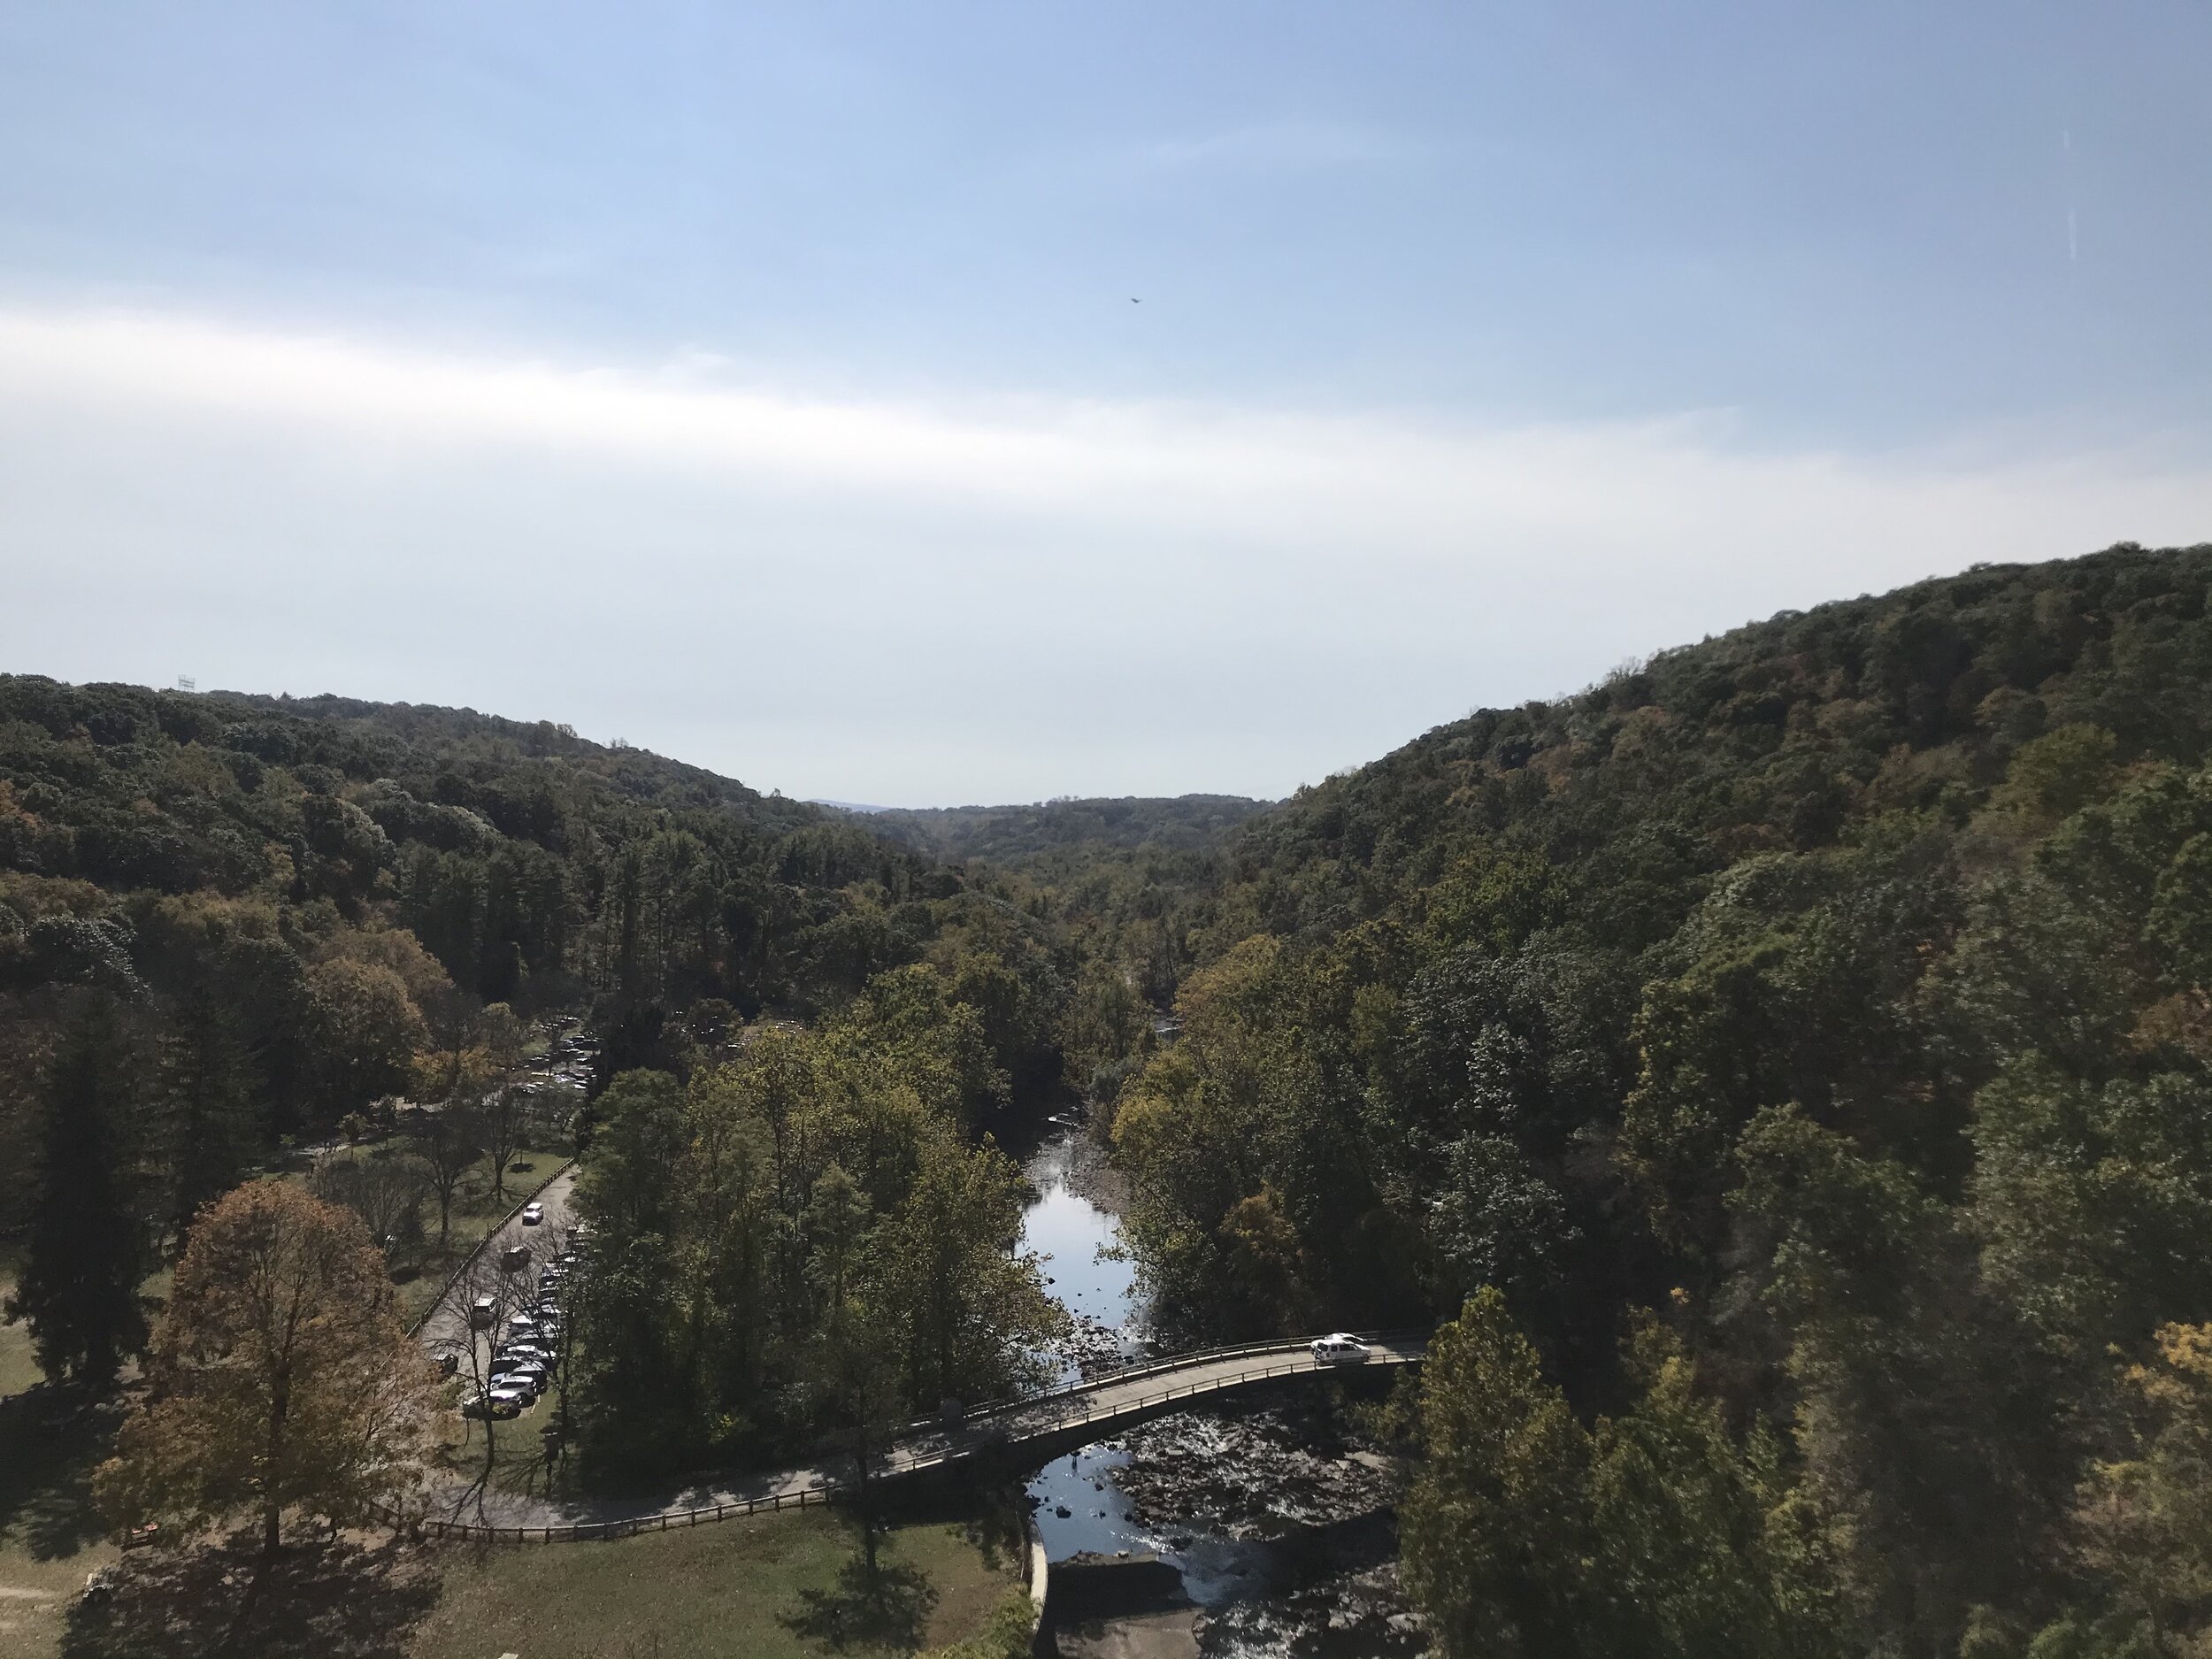
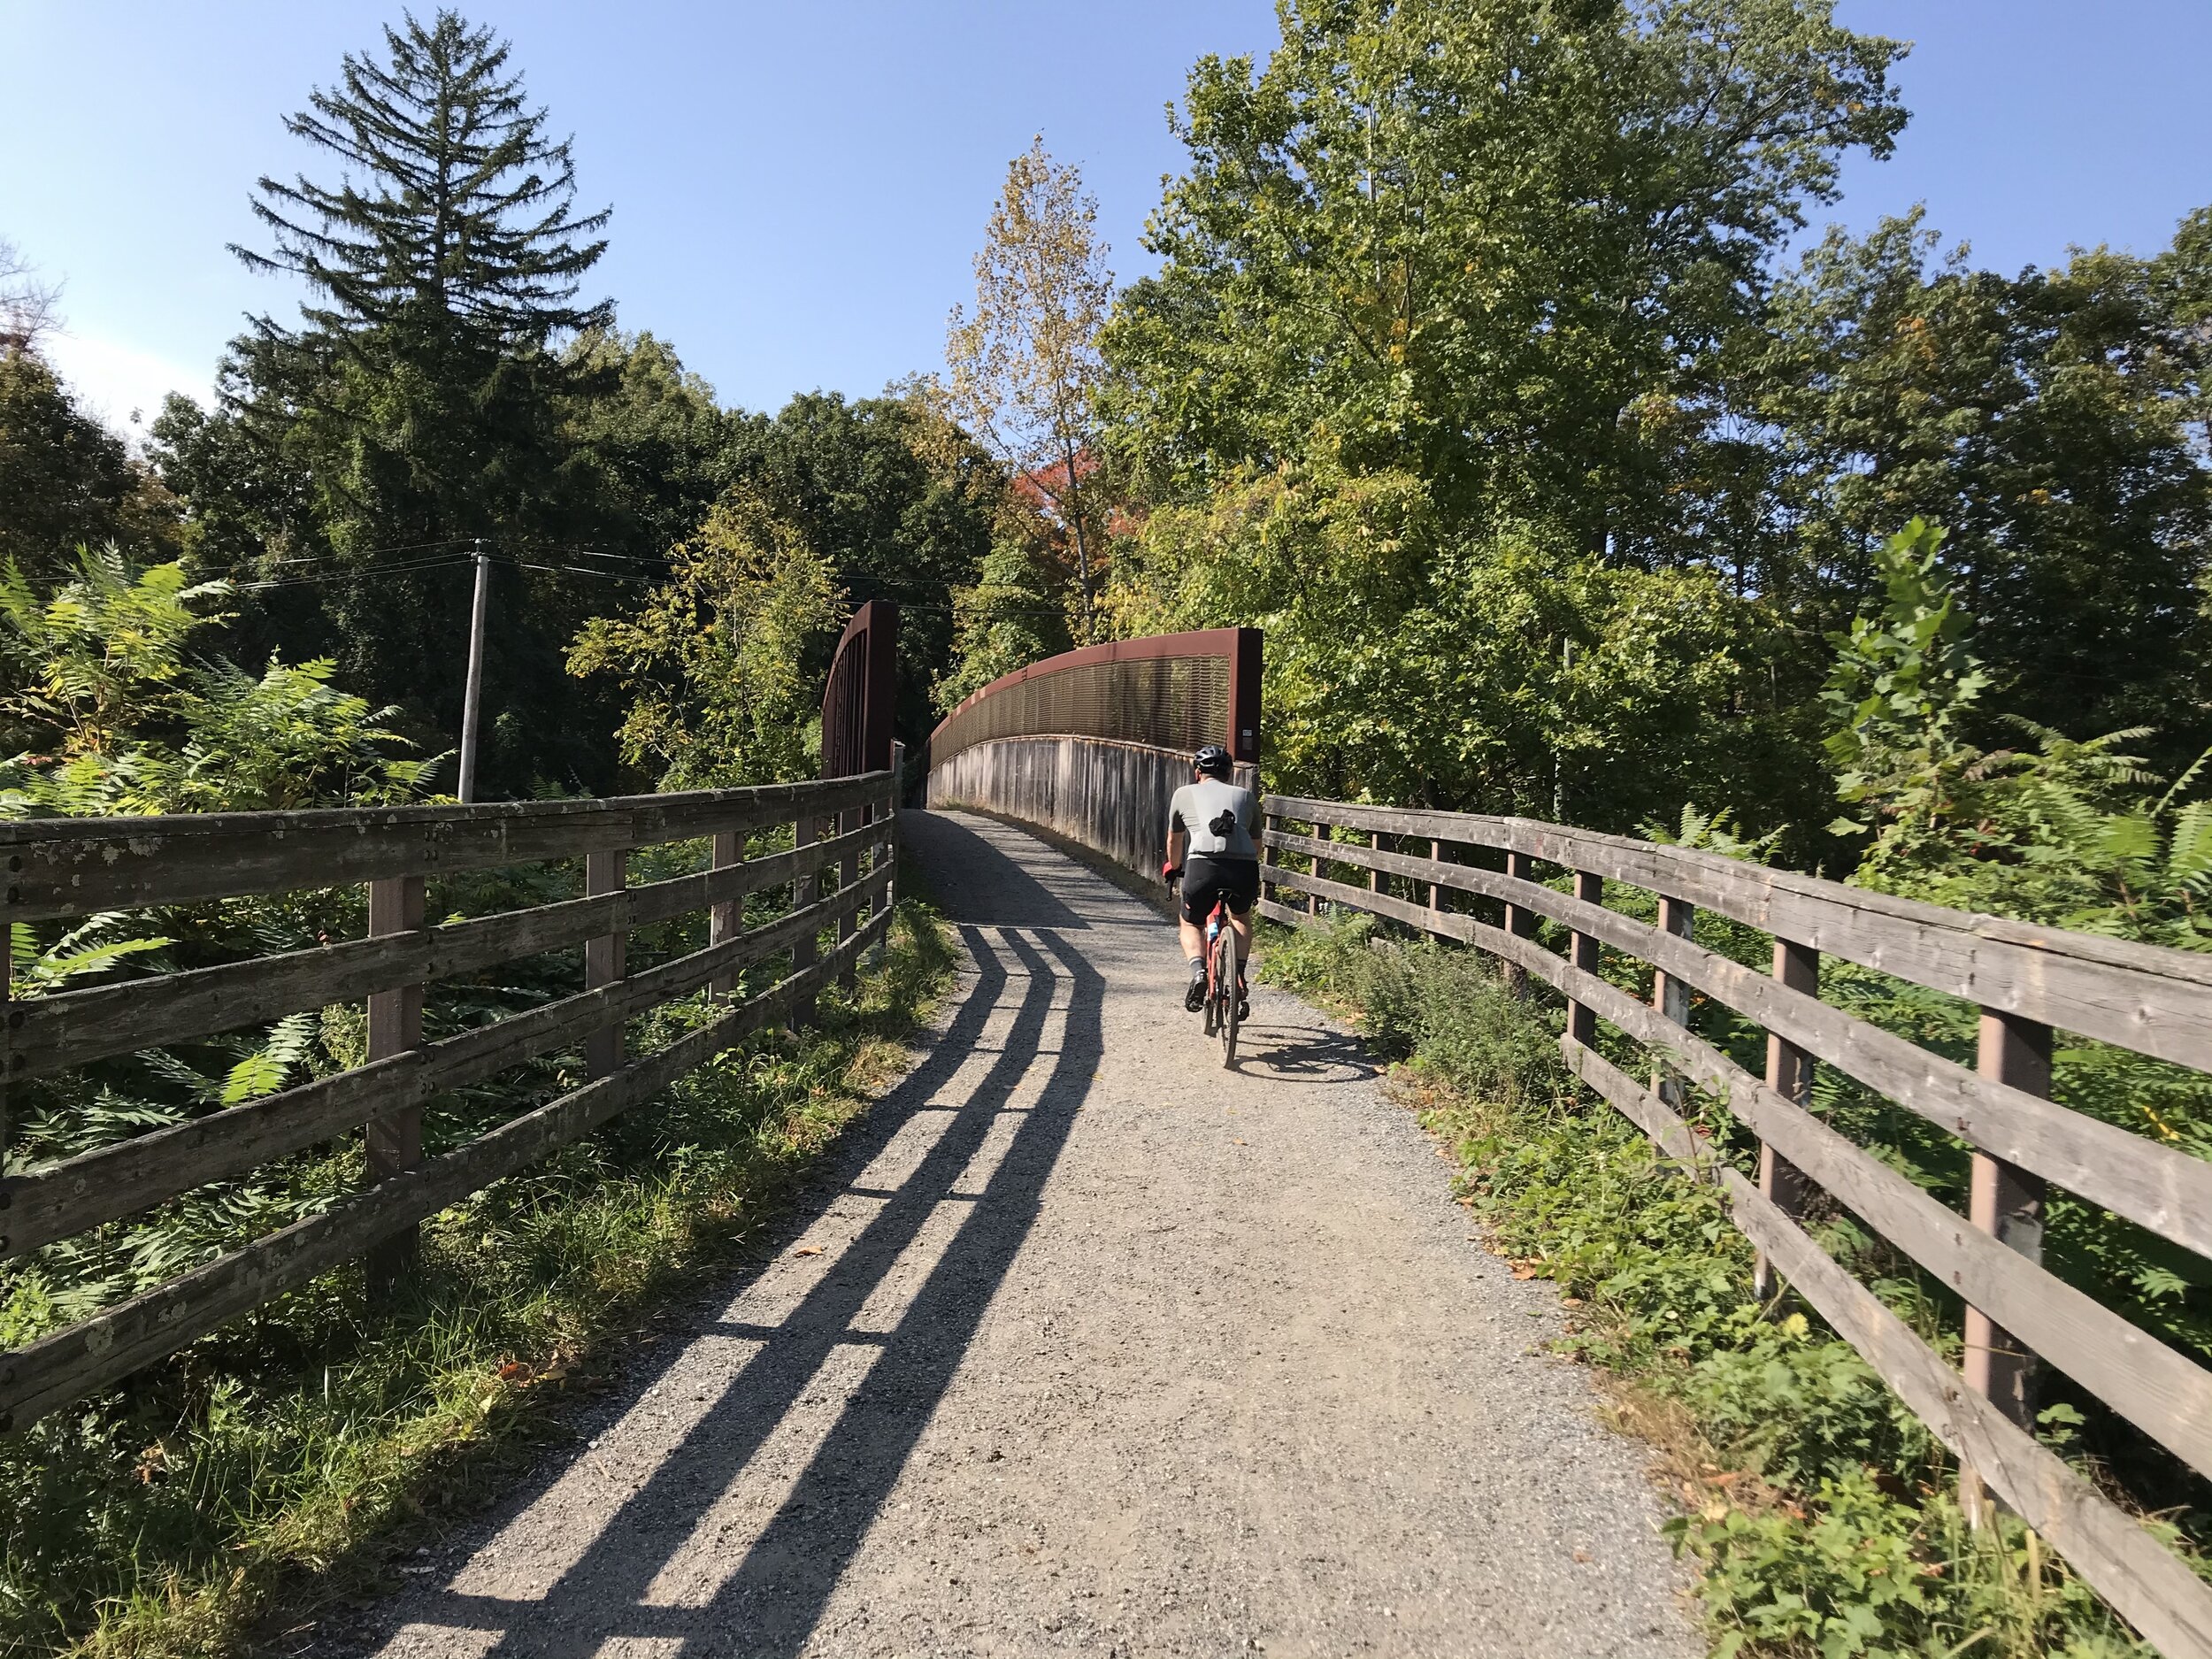
After I got over my insane jealousy of Larry’s beautiful new Specialized Diverge, I planned out his first day with his new bike. He had never ridden anything but pavement before. So, the Old Croton Aqueduct Trail (OCA) seemed like the perfect first off-road ride. It’s not too technical, is mostly packed dirt, doesn’t have any insane climbs (well, it has one), and ends at the impressive New Croton Dam. The trail follows the route of the Old Croton Aqueduct, built in the mid-19th century. The aqueduct brought water from the Croton River to NYC to be held in reservoirs in Central Park and Bryant Park. It functioned until 1965.
Once Larry got his new bike up and running with bottle cages, saddle bag, and computer mount, we set out to ride the OCA. I was a little worried that Larry wouldn’t like it at all, or that he might impressively crash and hurt himself. I’m happy to report, dear readers, that I was dead wrong. He did great and had a blast!
We made it all the way to the New Croton Dam. From there, we rode an extra ~10 miles on the road to the Peekskill Brewery. There, we celebrated his first successful off-road ride over beer and pizza. Once stuffed, we caught a ride on MetroNorth back to the city.
Tips and Tricks to First Time Gravel Riding
We’ve since done several great gravel rides in Putnam County and beyond. And, I even convinced him to ride Six Mile with me! Now attuned to the needs of a new gravel rider, I compiled a list of tips for those who are just getting into gravel:
Find a riding buddy! It’s better if your riding buddy is a little more advanced than you. That way, you can follow their lines.
Choose easier routes at first; avoid chunky gravel or really steep, loose climbs. If you start simple, you’re less likely to get discouraged.
Don’t forget to drink! With the new conditions, you may be less inclined to take your hands off the bars to take a sip. But, it’s okay to stop to take a drink. And, if you’re thinking about a camelback or a similar system, go for it! It’s socially unacceptable to carry a water bladder on a road ride, but off-road, it’s okay!
Trust your bike. You’ll be able to roll over a lot more with your new fat tires.
When the road gets rough, remember that your body is your suspension. The looser your arms and legs are, the less bumpiness you will absorb, and the more comfortable and stable you will be.
Be ready to stand up on your pedals! Especially when coasting or descending, it’s good to stand up and get your butt back - way back. You’ll have better control over your bike when your weight is over your rear wheel.
Wear gloves! With the bumpy terrain, you’ll want some extra padding between your hands and handlebars. Plus, you’ll protect your hands on the off-chance you go down.
Pack sunnies. Just because you’re in the woods, it doesn’t mean the sun doesn’t shine. You might consider transition lenses or a lighter tint so it’s not too dark when you do duck into some shade.
Tubeless is great if you’re up for the hassle but it’s totally not necessary. Either way, pack a spare tube, levers, and a way to inflate your tires. If you’re riding tubeless, consider getting dynaplugs, which are great for bigger holes that won’t seal.
Tire pressure is more important than tire choice (@Corey for this one). You’ll want to run a lower tire pressure than you do on the road, but there’s not a hard and fast rule on what to run. Play around with different PSIs and see what you feel most comfortable with.
Gravel is harder to ride over and takes more energy. Don’t get overzealous with distance - you might find that a 30 or 40 mile ride can take 3 - 4 hours!
Be considerate, especially when you’re on shared trails.
Have fun!


