How to Keep Your White Cycling Shoes White (Updated)
White shoes, white socks. The match-any-kit look. The pro look. The road look. If you’re brave enough, an off-road look too. It’s a thing in cycling, but how do you keep white shoes white? Almost anything will stain your shoes: road grime, dirt, dust, toe overlap, wet roads, dog poop, even leaves sometimes!
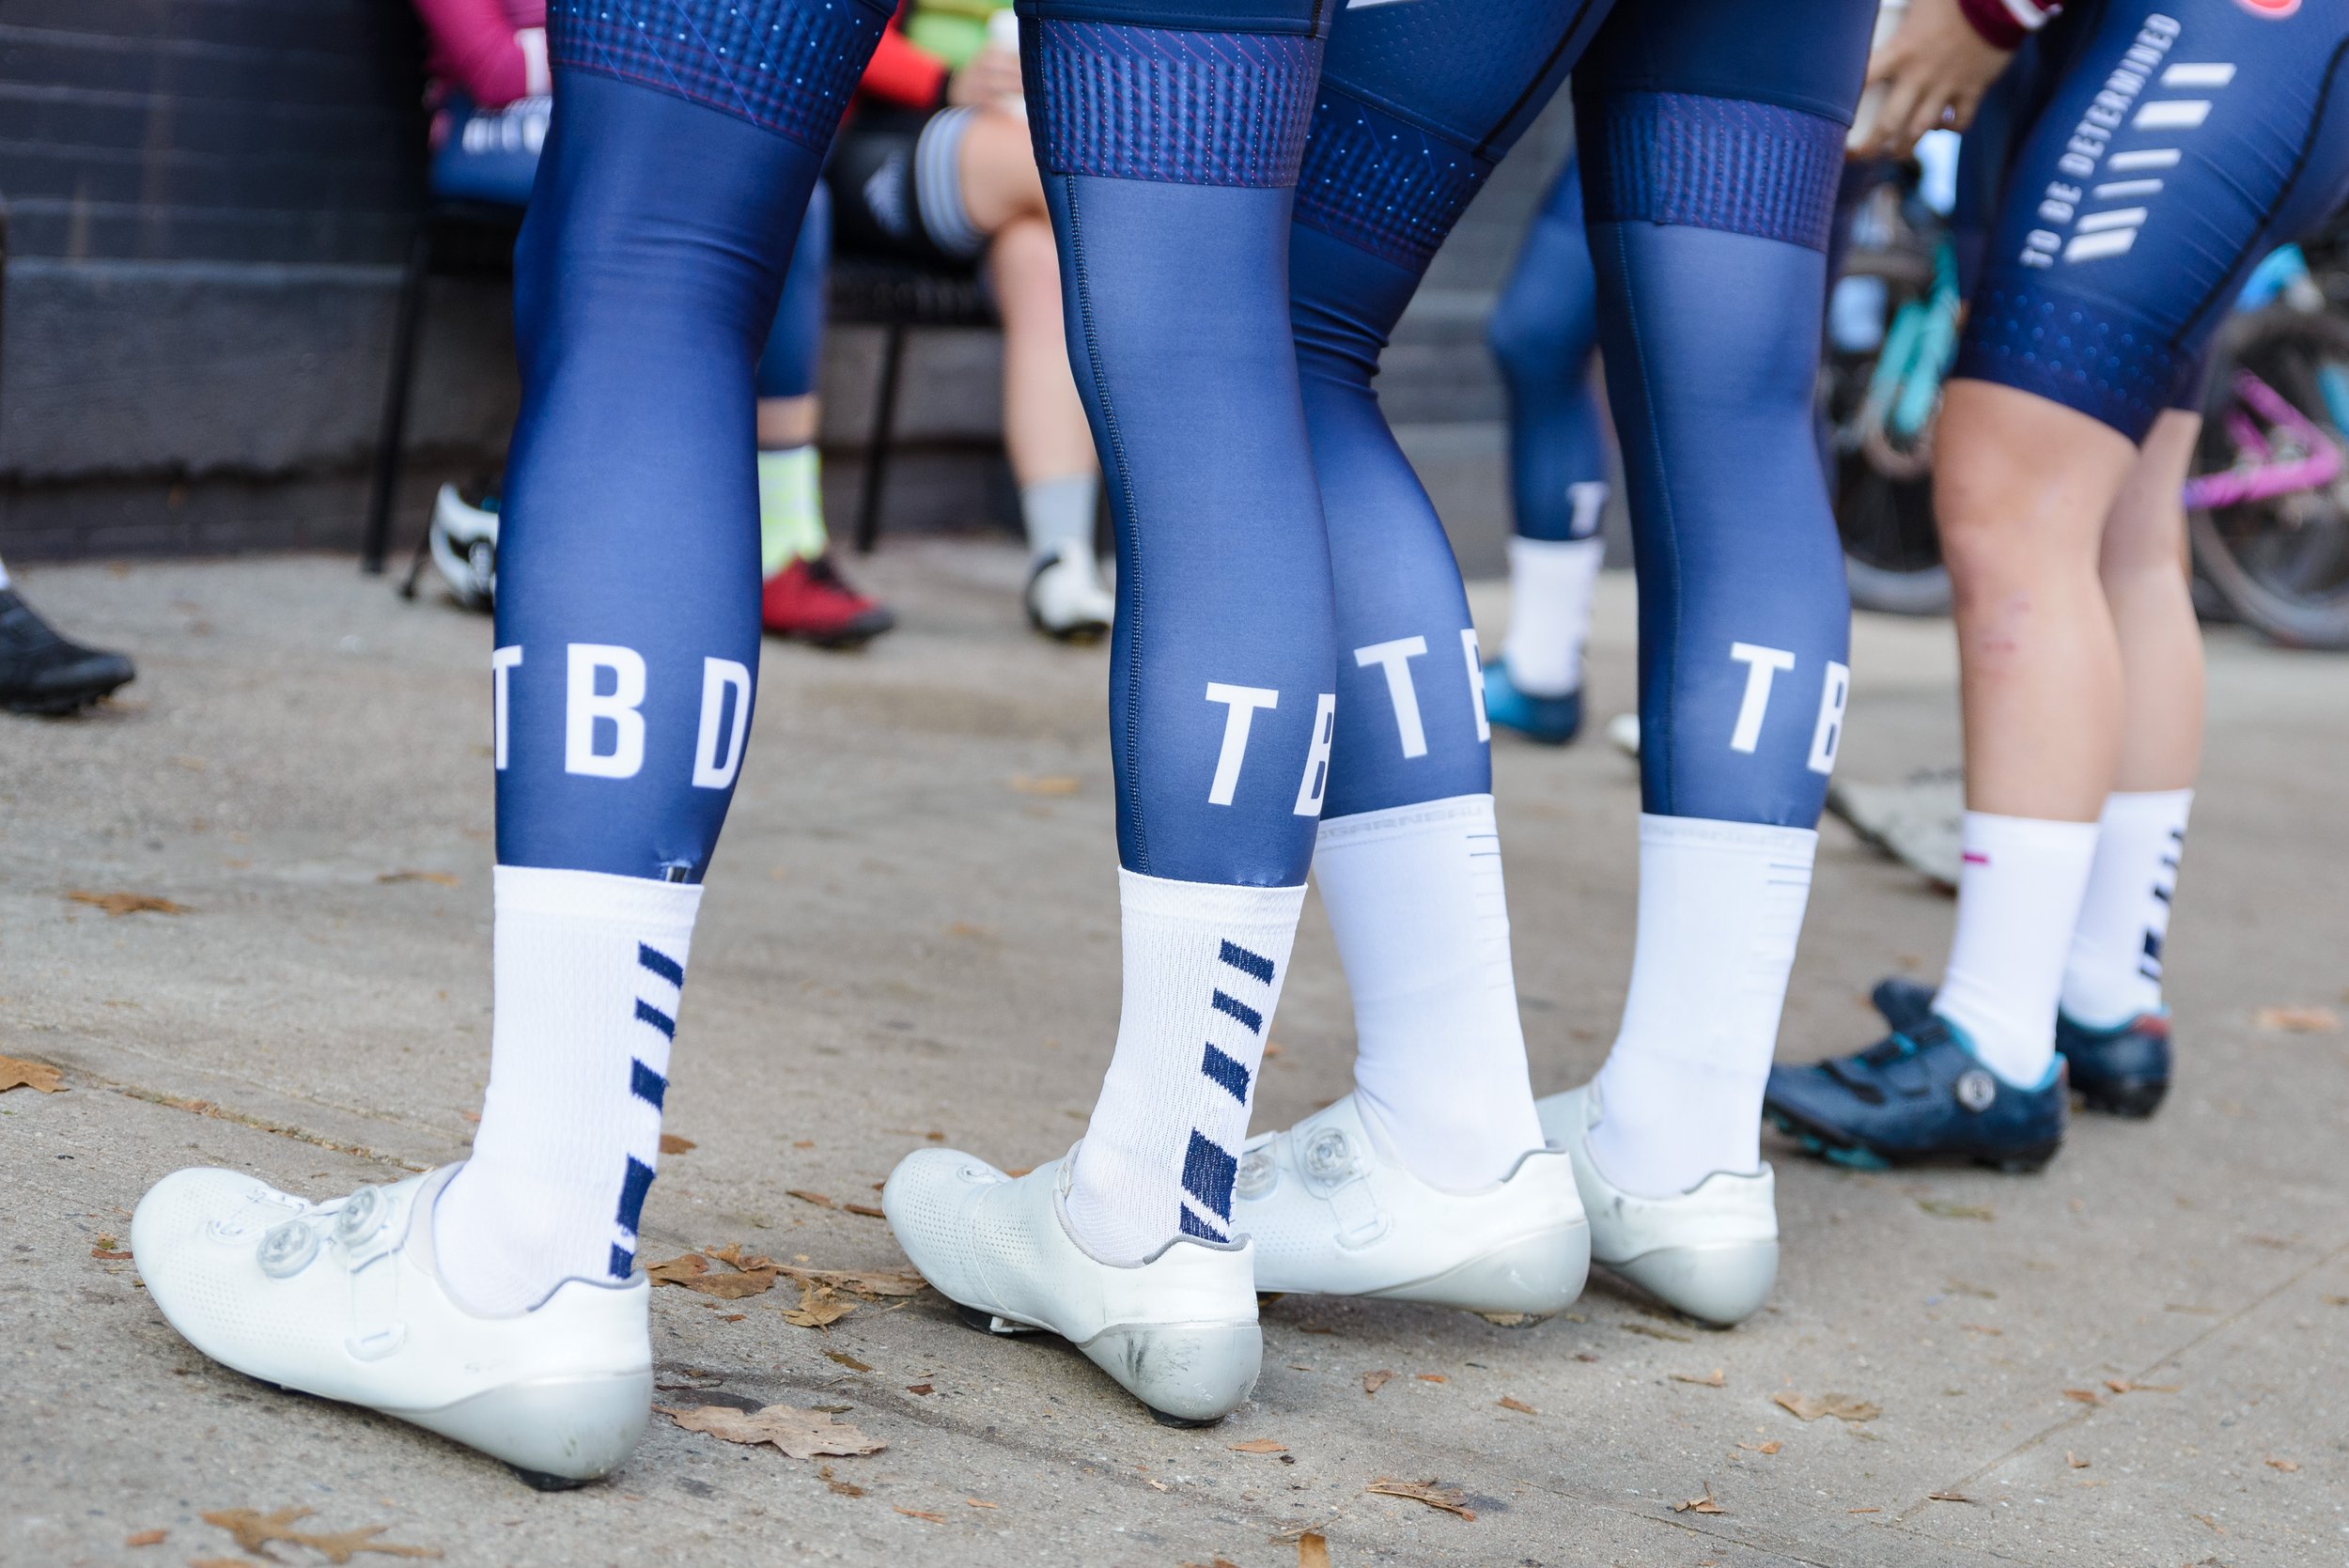
I can’t claim to have the perfect solution, but I can definitely help you out. My 2019 S-Works 7s are still white after two years and thousands of miles, so I’m going to say that means I’m qualified. The shoes in the image above are Yosef Fertel’s white Shimanos (which have over a year of wear as well).

Shout out to the coffee-stop shoe ‘gram. Basic yet irresistible.
So you bought some nice white cycling shoes. Now what?
Congratulations! I bet you feel faster already. We’re going to take some tips from the sneaker-head community for this. Follow the steps below to get the most out of your new white shoes. Note: PRE-WEAR TREATMENT IS KEY!
Picture by Scott Rettino
Don’t wear them just yet! Make these investments first
Before you go out and break in ruin your new white shoes, make sure you have what you need to make them last. I bought these items on Amazon, but if you find these somewhere else, go for it. Also, other brands and options are also welcome, and if you have suggestions here please send them to us! The idea is get a rain-proof protectant to coat your new shoes in, and then have something to wipe the grime off continuously before it settles in. In case of deeper stains, that’s where the magic eraser comes in.
All About Sneakers shoe wipes or a slightly cheaper CleanKicks brand shoe wipes
Hand-safe dish soap or another softer liquid soap like Dr Bronners
Any whitening tooth paste
PRE-WEAR: Spray your shoes with Crep Spray (or other rain/waterproof protectant)
Go outside and find a properly ventilated area. Wipe your shoes down to make sure you’re not about to cover any dirt. Undo the shoes as much as possible (i.e., unclip boa strings, or remove the laces). Then spray at least 3 coats of crep spray on your shoes. That includes spraying and covering entirely, waiting to dry, and spraying again. Make sure you get the toe box and the corners properly, as that gets dirtiest. Don’t forget the lower or beginning part of the shoe “tongue,” since this area also gets a lot of grime and gets harder to clean over time. The heel, sides, and any nooks and crannies your shoes have will be easier to clean in the future if you get them now. Apply generously.
POST-WEAR: After every ride, wipe your shoes down
Yes, it’s a bit of a commitment. I admit that I started doing this religiously at the start and I maybe skip a day or two now. However, the more you do it, the longer your shoe will have a clean life. Even if they’re not totally disgusting, what you’re doing is preventing grime build-up and grime stickiness. Leave it on for too long and it might leave a mark, or be extremely difficult to get out another day.
PRO TIP: Wetting your shoe wipes will create a lather when you rub your shoes clean!
POST-WEAR: How to wash your shoes (NEW)
Unfortunately, shit happens. (Hopefully not literally to your shoes.) In any case, washing your shoes is a great way to make the white shine for longer. You don’t need to do this after every ride, but I recommend doing after an accidentally wet or gross ride or if it has simply been a few weeks. You might need a day or two for them to dry, so plan accordingly.
Take the insoles out and be generous with water and soap. Scrub entirely around the shoe and don’t forget the key areas like the toe box, tongue, and the undersides. I like to use a dish sponge or better yet, a dish washing brush. Make sure you get every little piece of dirt, mud, road grime, and dust out of every single little corner on the top of your shoes (i.e, in and around the boas or laces). Once you’re done with the soap, rinse it off completely. Now time for the tooth paste. Use tooth brush. (Yes, a tooth brush. No, not “your” tooth brush, a different/new one.) Scrub the whitening toothpaste across all of the areas you just washed, especially the parts that you really want to shine. Then rinse again and air out to dry!

PRO WASH TIP: Take your boas out
If you accidentally got mud or spent hours in really bad rain through dirt and grime, clean out the inside of your boas. If not, they’ll end up like this!
5. POST-WEAR: Hard stains? Magic eraser!
For those nasty stains that won’t come off with a wipe, or any scratch that got paint deeper into the material, I recommend using Mr Clean magic erasers. These work surprisingly well, but it DOES scrub off your protectant. So you may have to re-apply the Crep Protect from Step 1 again.
Now go forth and look fast. (And please comment on any other recommendations!)

