Doris Diaries 6: The Basics of Bike Building
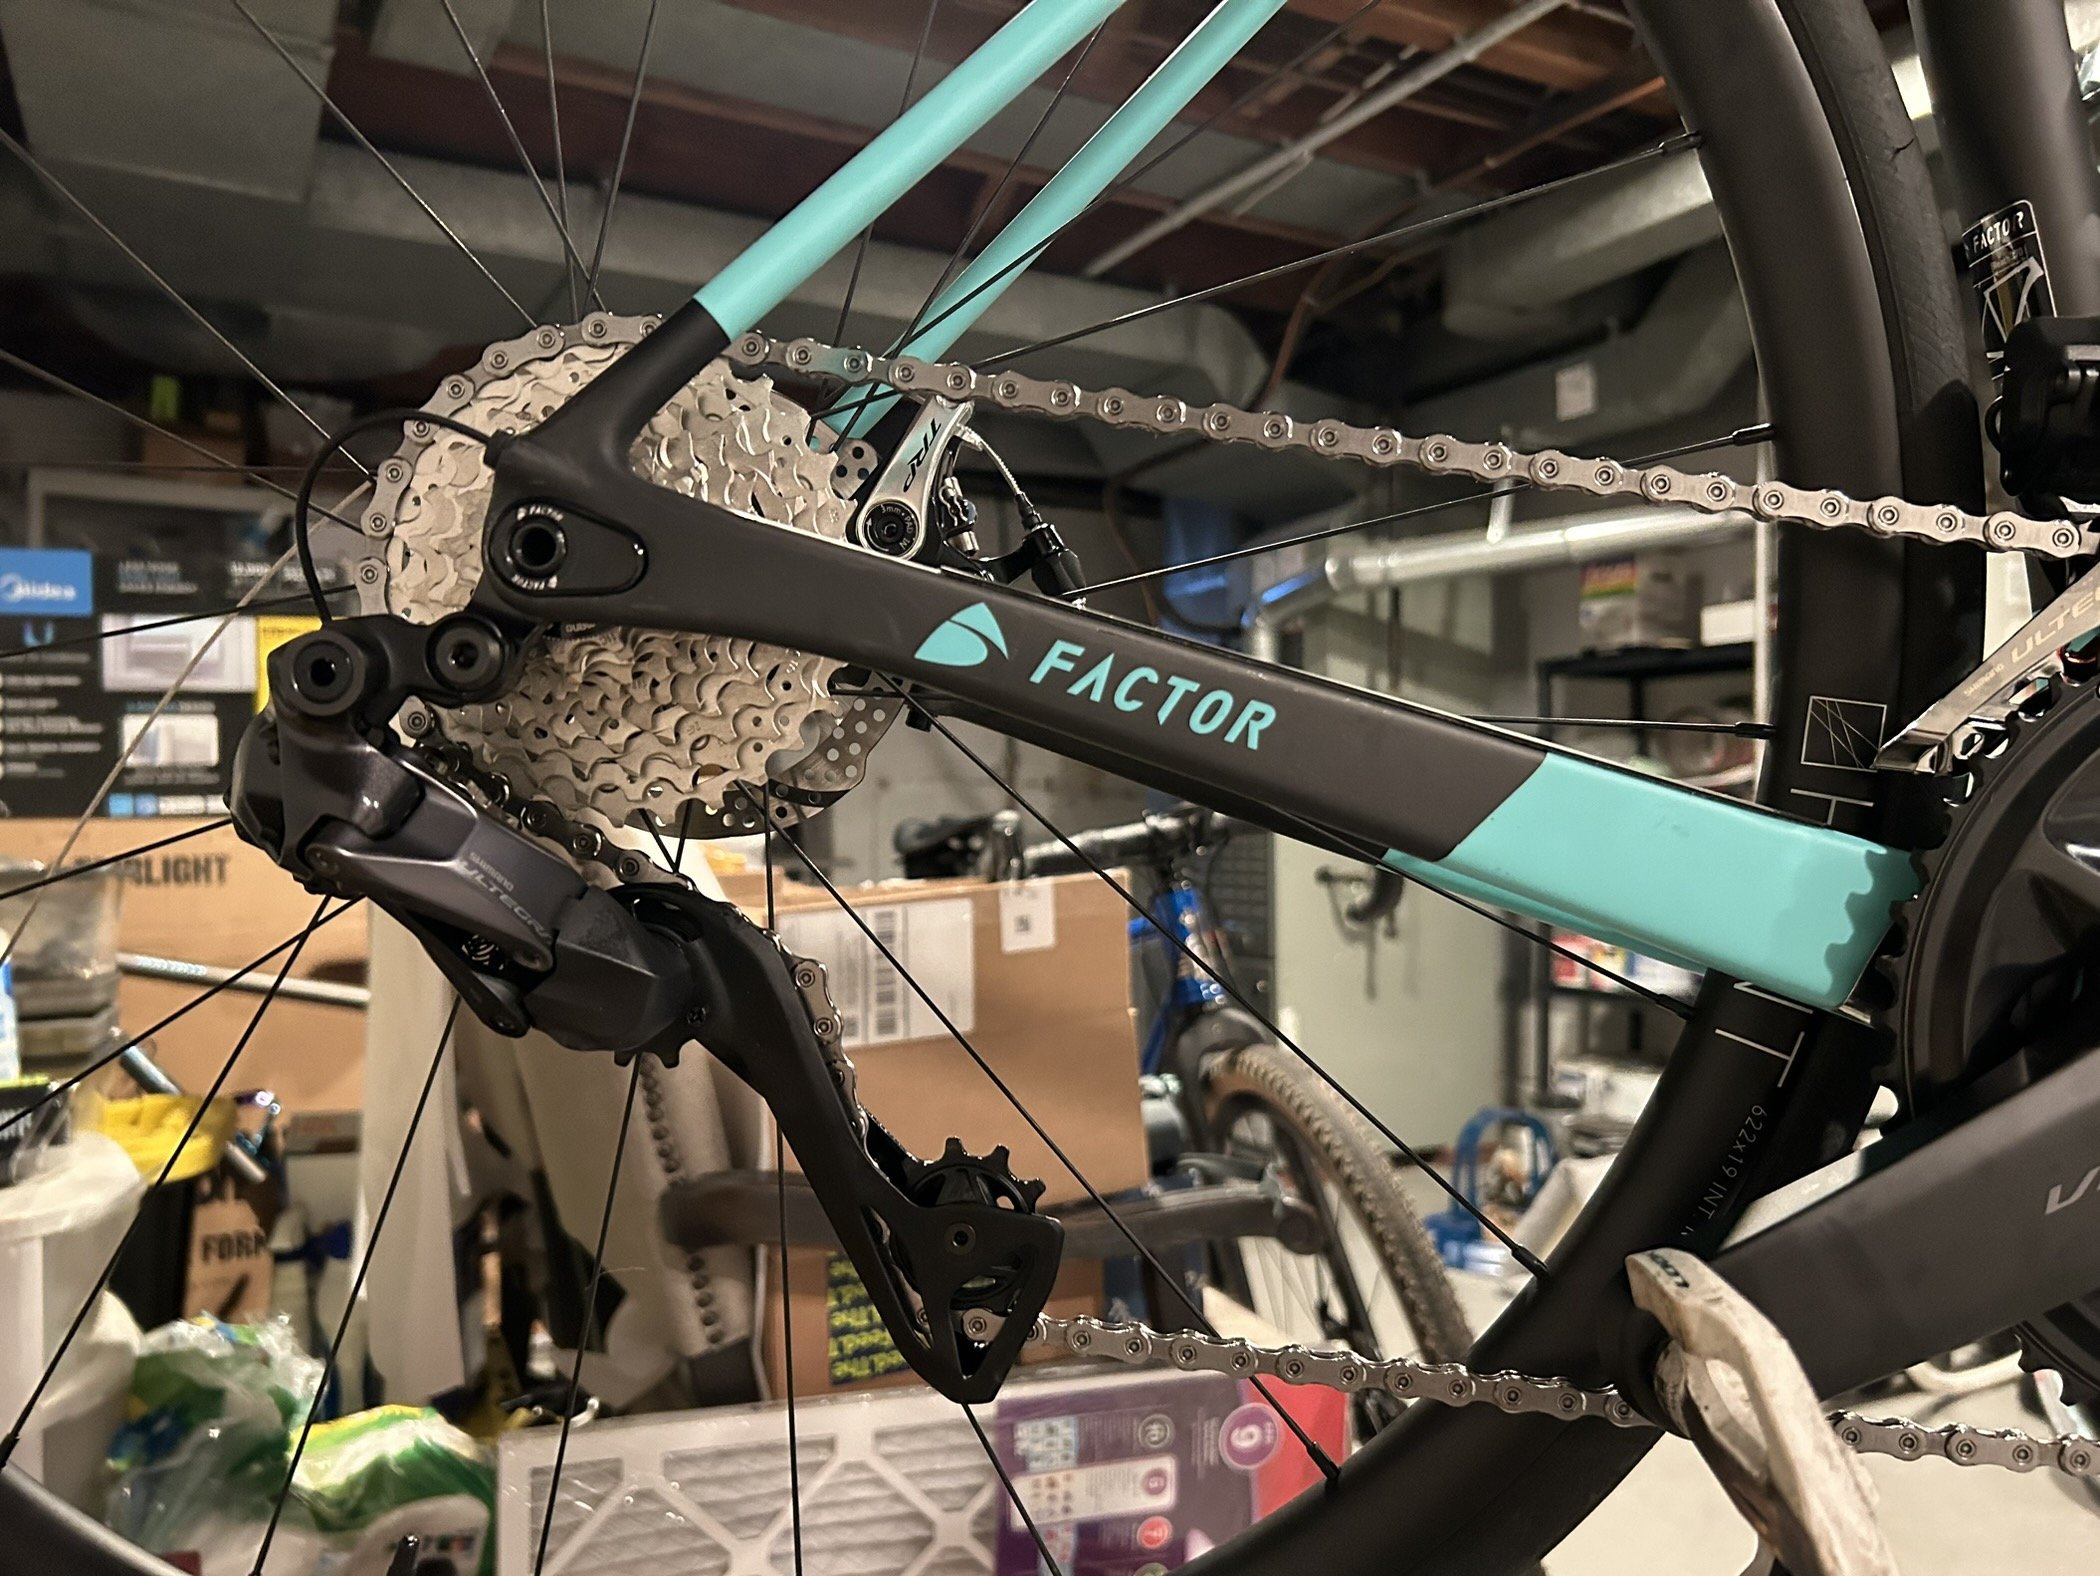
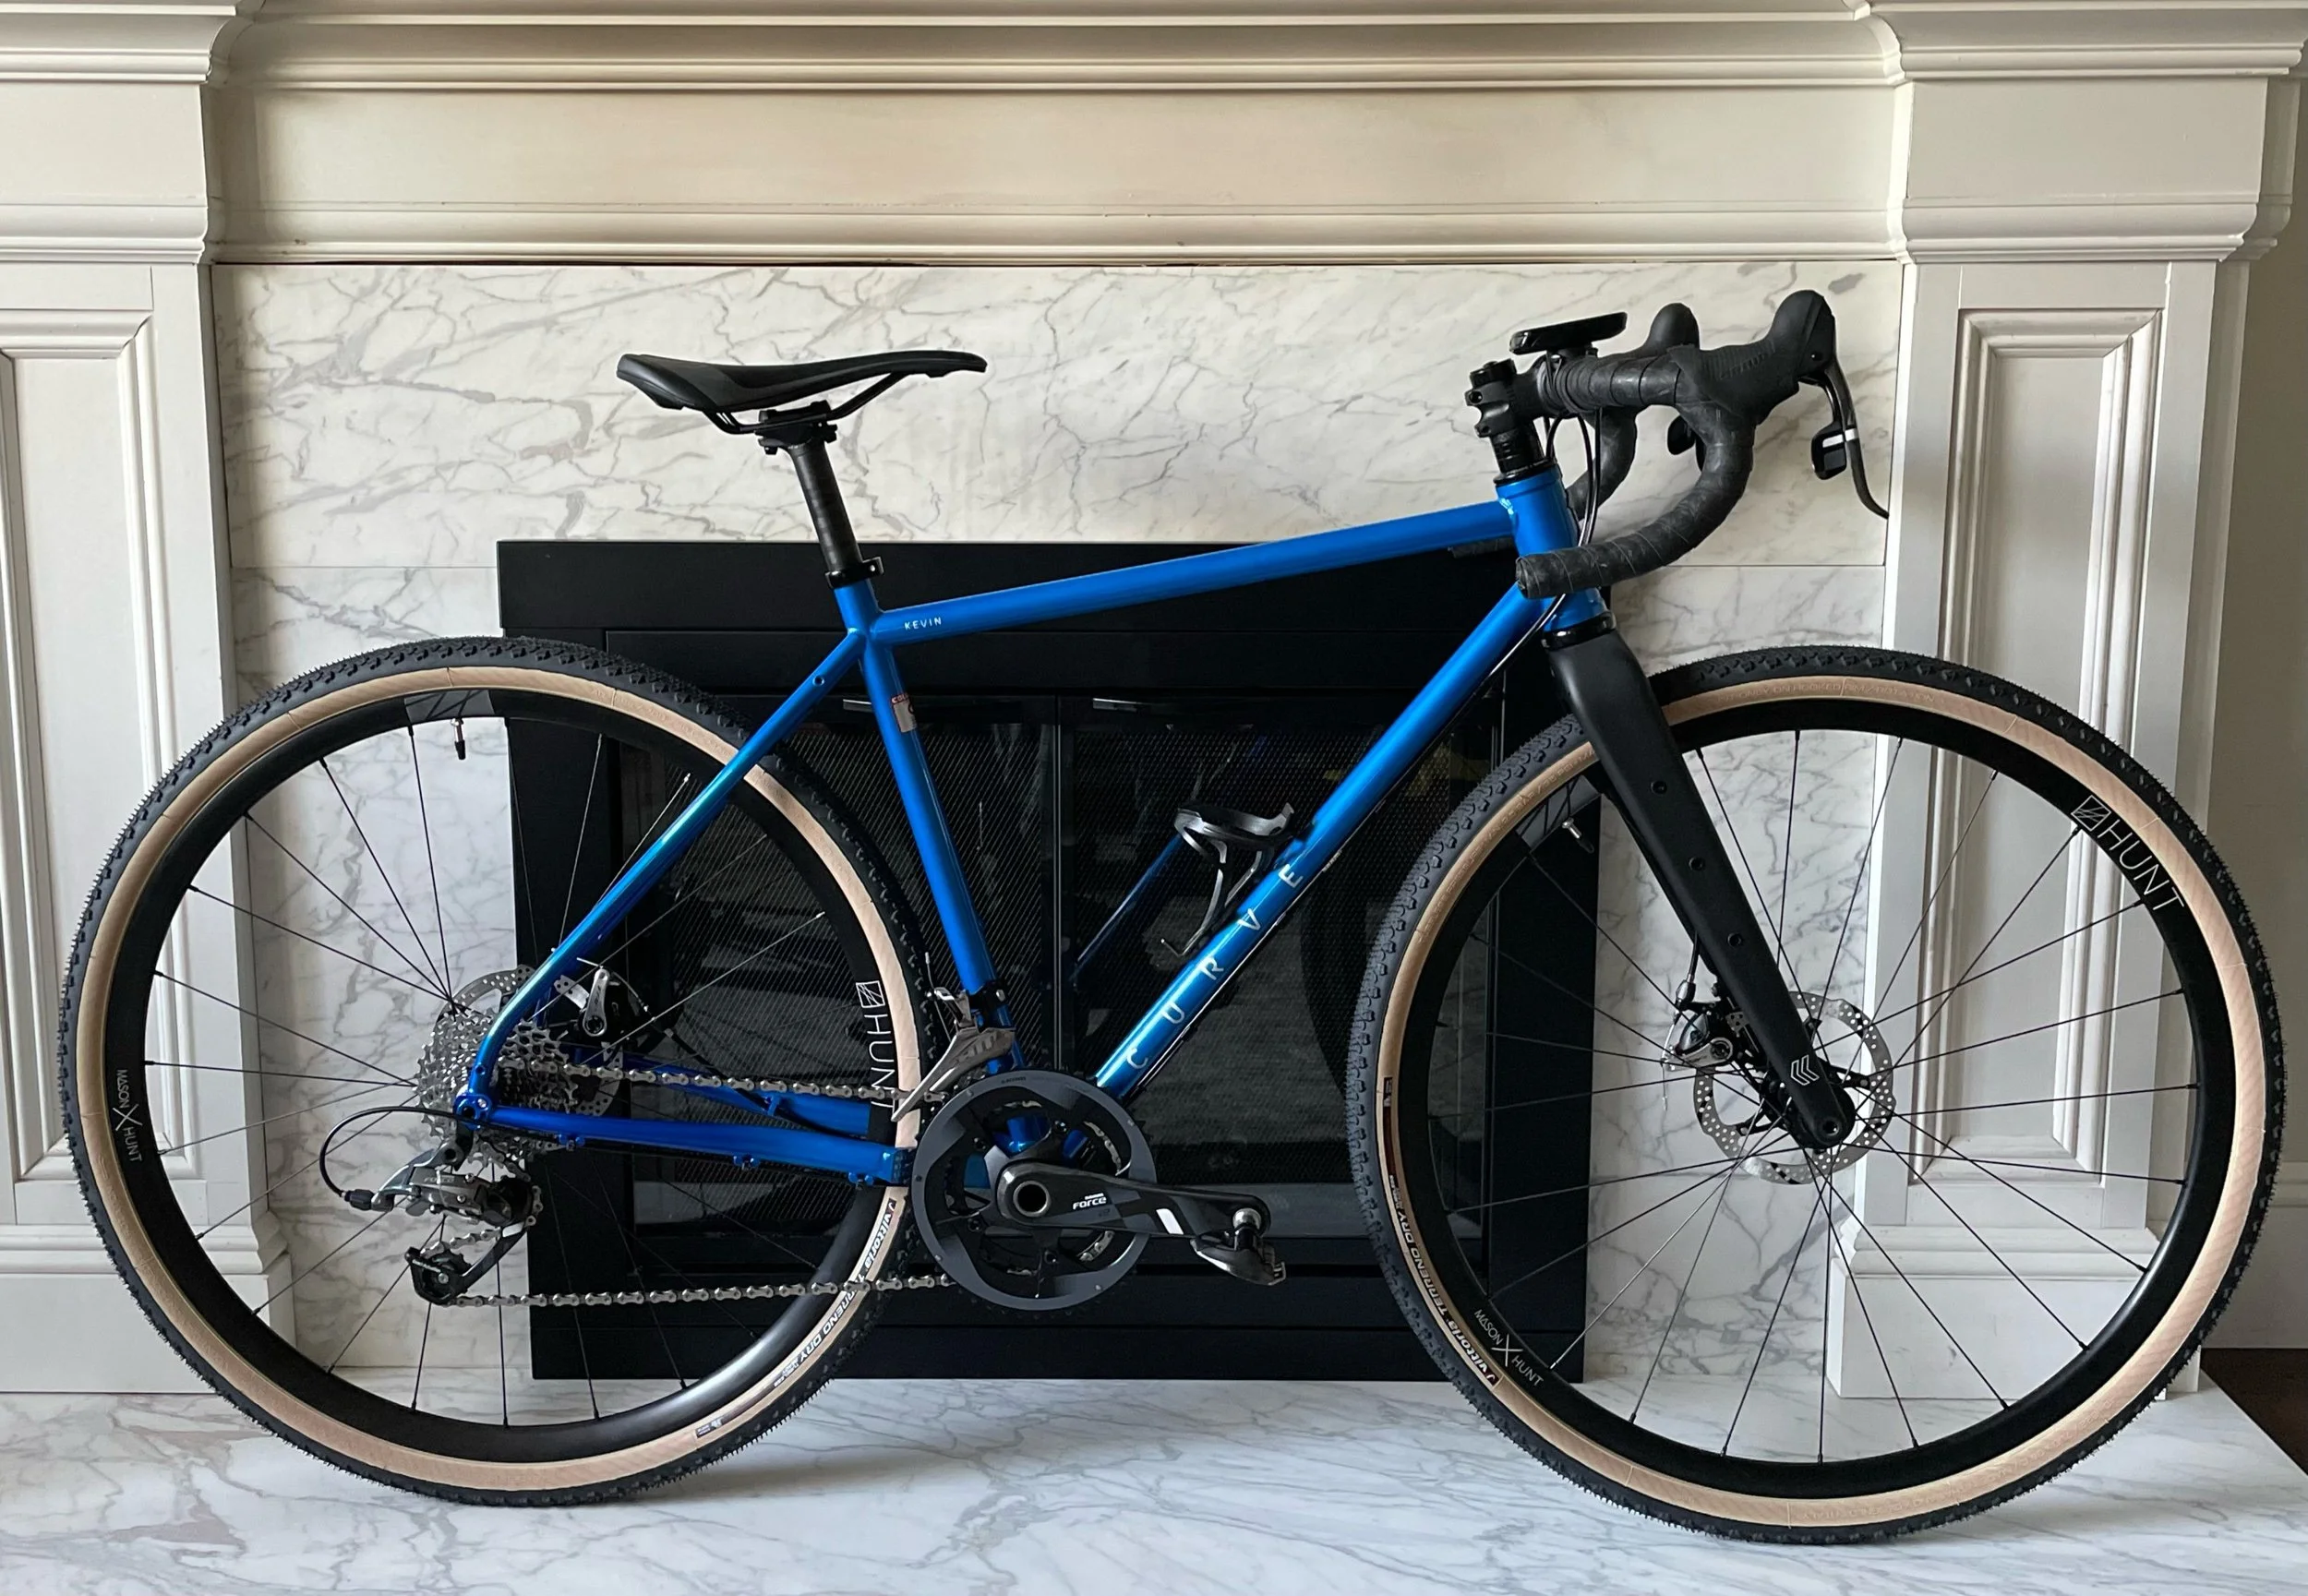
I find nothing more empowering than being able to do something yourself. This summer I built a retaining wall, a driveway, and a patio by myself and the feeling upon completion is exhilarating. Riding that wave of pride, I decided that I wanted to give bike building a go. Granted, this is not my first build. I have swapped out components before, however, I have never tried internal routing and electric systems. Last summer, I built up my gravel bike. The frame, a Curve Kevin of Steel III, had been imported from Australia and I had put all the parts on. (I highly recommend Curve Bikes!) Recently I decided to give up on rim brakes and go fully disc so I purchased a Factor O2 frameset and set out to build it up. I’ve learned a lot of things that I’d like to share and I’m here to say that it is not as intimidating as you’d think. The following is a compilation of lists and steps that have helped me during bike builds.
Bike Building Basics
1) Do your research
Know what you are getting into and have a vision for the finished product. Do you want Sram or Shimano? Carbon, aluminum, steel, or titanium? 10, 11, or 12 speed? Race geometry or endurance? Electronic or mechanical shifting? Plan out exactly what you want and then look into what you need to get to make that happen.
The first thing I like to do is look at manufacturers websites, read reviews, and compare products. I find BikeRadar.com to be pretty helpful for bike reviews. I also look at the geometry of the frame because I have learned that there is no point in buying a bike that isn’t going to fit regardless of how pretty it is.
Before you buy anything, it is important to look into systems that work together. For example, 12 speed Shimano di2 is not cross compatible with their 11 speed components. If you want 12 speed, you need to upgrade everything. I also decided to run mechanical disc brakes because they were less expensive than hydraulic and I didn’t feel comfortable playing around with mineral oil. After installing everything I discovered that the shifters I bought were not wireless. You can get rim brake shifters and run mechanical disc brakes but they need to be connected to the battery. The hydraulic system does not. It definitely pays to read the manual beforehand.
2) Cost
Pricing is something that drives a lot of my decisions. For this reason, I buy a lot of things that are used and in good condition form Facebook Marketplace or eBay. I also like to shop sales. Hunt for deals and see what is the most cost effective. MerlinCycles.com has pretty good prices on full groupsets. I’ve also bought components through Planet Cyclery, Gambacicli, REI, Excel Sports, Competitive Cyclist, and Bike Inn among others. For me, it made more sense to buy component by component rather than a full groupset because it is challenging to find 165mm crankarms. I would like to warn against websites with prices that seem too good to be true. There are scam websites out there so be sure to check Trustpilot before making online purchases. Local bike shops are also great places to go to get parts and are very willing to work with you should you get stuck.
3) Tools
I bought a Foundation tool kit a long while back and it has gotten me through swapping Shimano for Sram components in the past. For a build where you are starting out with just a frame and fork, you will need more than just that. For example, if you are going to cut the steerer tube you will need a saw guide and hacksaw with a specific blade for cutting carbon fiber and file for stray fibers.
Here is a list of tools you should probably have on hand:
Bottom bracket tool (which type depends on which BB you need)
Bottom bracket dust cap wrench (for shimano builds)
Internal routing kit (this was a lifesaver for me)
Torque wrench (so you don’t over tighten bolts)
Seat post grease (this is different than regular grease. It has grains in it to help hold seat post in place by creating friction.)
Stand (not necessary, but really does help)

Using the Park Tool Internal Routing Kit
4) Components
Not much to say here other than your bike won’t move unless you have these things so… here is a basic checklist of parts:
Bike frame (usually comes with fork)
Right and left shifters
Front and rear derailleurs
Brakes (plus rotors if they are disk)
Brake pads (sometimes are included with brakes)
Crankset
Cassette
Chain and master link
Cables and housing: shifter and brake (usually comes in a kit. Be aware that shifter cables cannot be used as brake cables and vice versa).
Bottom bracket (The type of BB depends on the frame. Use the manufacturer’s website to help you out here.)
Wheels (I really like Hunt)
Tubes and tires
Headset and spacers (sometimes comes with frame)
Handlebars
Bar tape and electric tape
Stem
Seatpost
Saddle and pedals

Some components for my build
5) What to do when you get stuck…
If you have a question about something, chances are that you can find your answer online. There are a ton of forums out there and threads where people troubleshoot issues. YouTube bike channels like Park Tool can also be very helpful for visual learners. For example, I needed a specific bottom bracket for the Factor O2 because the crankset I wanted to use was not directly compatible. Wheels MFG has a large variety of stuff and thought it was expensive, it was definitely worth it.
6) Manage your expectations…
I have never done a bike build where I have not had to run to my LBS for something that I forgot or didn’t realize that I needed. When I was building up my Curve Kevin of Steel III, I accidentally bought an inboard instead of an outboard bottom bracket. When I was building up my Factor, I needed di2 wires because (as previously mentioned) I thought my shifters were wireless… turns out only the hydraulic version was. Make sure you call around and see which places carry the parts you need. I discovered that several shops that I normally go to do not have parts for Factor Bikes.
7) Take your time
Don’t rush your build. It’s okay if you try and wrap your bar tape 50 times before getting it right. These things take practice and I definitely didn’t get it right away. It is a great feeling when it’s done and you’ve completed it yourself.

Running out of steam
8) Check your work and make adjustments
I highly suggest doing a very short ride (no more than a mile loop in case you have to walk back) just to make sure everything works before you set out on a long ride. On my latest build, my crankset came loose. I must not have tightened the bolts all the way when I was done. This resulted in my husband having to rescue me about 10 miles from the house and drive me home so I could fix it.
Something looks off to me….
How I Built My Bike:
Step 1: Prep
Carefully remove everything from the packaging and take care not to lose any small parts (bolts and stuff). I like to have an area where I am working with all my components lined up along with my tools so I can keep track of what I’m doing and using.
Step 2: Headset and fork
This step differs based on the type of headset you have because the parts are different. The Factor O2 required a compression plug because the frameset is carbon. This plug is made of spikey metal which ensures that nothing moves. So really all I had to do was put the fork in the frame, put the spacers in, and then the compression plug.
Step 3: Put on stem and bars
Pretty self explanatory. You can also use this step to cut the excess off the top of the fork. I would measure everything out prior to cutting anything because once it is cut, you cant go back. Wear a mask while doing this because carbon fiber dust is very bad for you if inhaled. I would recommend leaving it a little higher than you want just in case your fit changes. Just add one extra spacer on top.
Step 4: Set up your wheels
Put the cassette, rotors (if they are disc), tubes, and tires on the hubs. I like to do this towards the beginning to get it out of the way. It’s one of the easier things to do so its a confidence booster.
Step 5: Shifters, derailleurs, brakes, seatpost, saddle
This is also a simple step because you are just putting things on the bike. Don’t tighten everything all the way yet because you will most likely need to adjust the angles.
Step 6: Routing
If you are internally routing your bike, I would recommend using the park tool routing kit. There is a cable in there that has a screw tip that can be screwed into the housing and then dragged through the bike. I learned this after I broke a different one. Thread the cables through the shifters and into the housing. The left shifter controls the big chain ring and front brake. The right shifter controls the rear brake and cassette.
Step 7: Bottom bracket
The tools required for installation differ based on which type of bottom bracket you are using. For my build, I had a bottom bracket that twisted together and used a BBT-29 bottom bracket tool.
Step 8: Crankset and pedals
Install the crankset through the bottom bracket. If you are using Shimano, you will need a special tool for this step. Make sure that everything is tightened all the way. Add pedals (do not over tighten).
Step 9: Chain
To make sure that your chain is the correct length, place the chain around the large ring of the crankset and your largest cog in the crankset. Where the chain overlaps with the end, add one link and then cut. Now you can thread the chain through the derailleur and connect the ends of the chain with a master link.
Step 10: Connect everything and make adjustments
Thread the cables through the derailleurs. Thread cable through the brakes. Align everything and remember to tighten the bolts. If using electronic shifting, make sure all wires are connected to the battery. Use electrical tape on the bars to hold the cables in place. For the new 12 speed di2, you need to download the E-TUBE app in order to align the derailleurs because it is done electronically. There are no limit screws to do it mechanically. Run through the gears and adjust the derailleurs until you have smooth shifts.
Step 11: Test ride
Like previously stated earlier in the article, go on a SHORT test ride to make sure everything works as intended.
Step 12: Bar tape
I like to do bar tape as the absolute last step just in case I have to alter the wiring or change anything that would affect the quality of wrapping the tape. I found this video very helpful when I was learning how to do this. Wrapping bar tape can be really annoying so go slow. I also recommend buying tape with some sticky stuff on the back because its a little easier.


Bike building takes time, patience, and a little bit of research but I think that it can be done by anyone. It is also very beneficial to know how your bike works so that if anything goes wrong in the middle of nowhere, you can fix it. In the gallery above are the two bikes I have built from the frame up. I have also stripped two bikes down to the frame to replace components and cables. It gets easier with practice and it’s pretty fun too!